I was fortunate enough to sell my 2008 Ford Mustang GT convertible in February. I used the cash to pay down a LOT of credit card debt... and now I have the means to move forward! I built some more parts shelves in the garage area, and I ordered the supplies I needed to finish my compressed air system and got to work. It took a lot of orders and a bunch of trips to the hardware store, but by mid-March my system was plumbed, with seven different outlet points set up in three different rooms. I used Maxline components supplied by Engineered Specialties, a RapidAir dealer in Wisconsin.
At the compressor, I removed the quick-connect and added 1/2" plumbing that included a valve, a tee for tying in another compressor if required, and a 1/2" flexible hose whip to the water separator and the first filter/regulator. From there, the air is split off in three directions. The first goes to a tire inflation station by the garage entrance; the second goes to a painting station in the woodshop, and the third enters the main shop, where I made a perimeter loop with two painting stations and two regular air outlets. The three painting stations have their own filter/regulators and high-flow plumbing. I installed the pipe runs with proper slope to optimize condensate drainage, and most of the outlets are fed in a top-loop manner to diminish the possibility of water pickup. Here is a diagram of the finished system layout:
At the compressor, I removed the quick-connect and added 1/2" plumbing that included a valve, a tee for tying in another compressor if required, and a 1/2" flexible hose whip to the water separator and the first filter/regulator. From there, the air is split off in three directions. The first goes to a tire inflation station by the garage entrance; the second goes to a painting station in the woodshop, and the third enters the main shop, where I made a perimeter loop with two painting stations and two regular air outlets. The three painting stations have their own filter/regulators and high-flow plumbing. I installed the pipe runs with proper slope to optimize condensate drainage, and most of the outlets are fed in a top-loop manner to diminish the possibility of water pickup. Here is a diagram of the finished system layout:
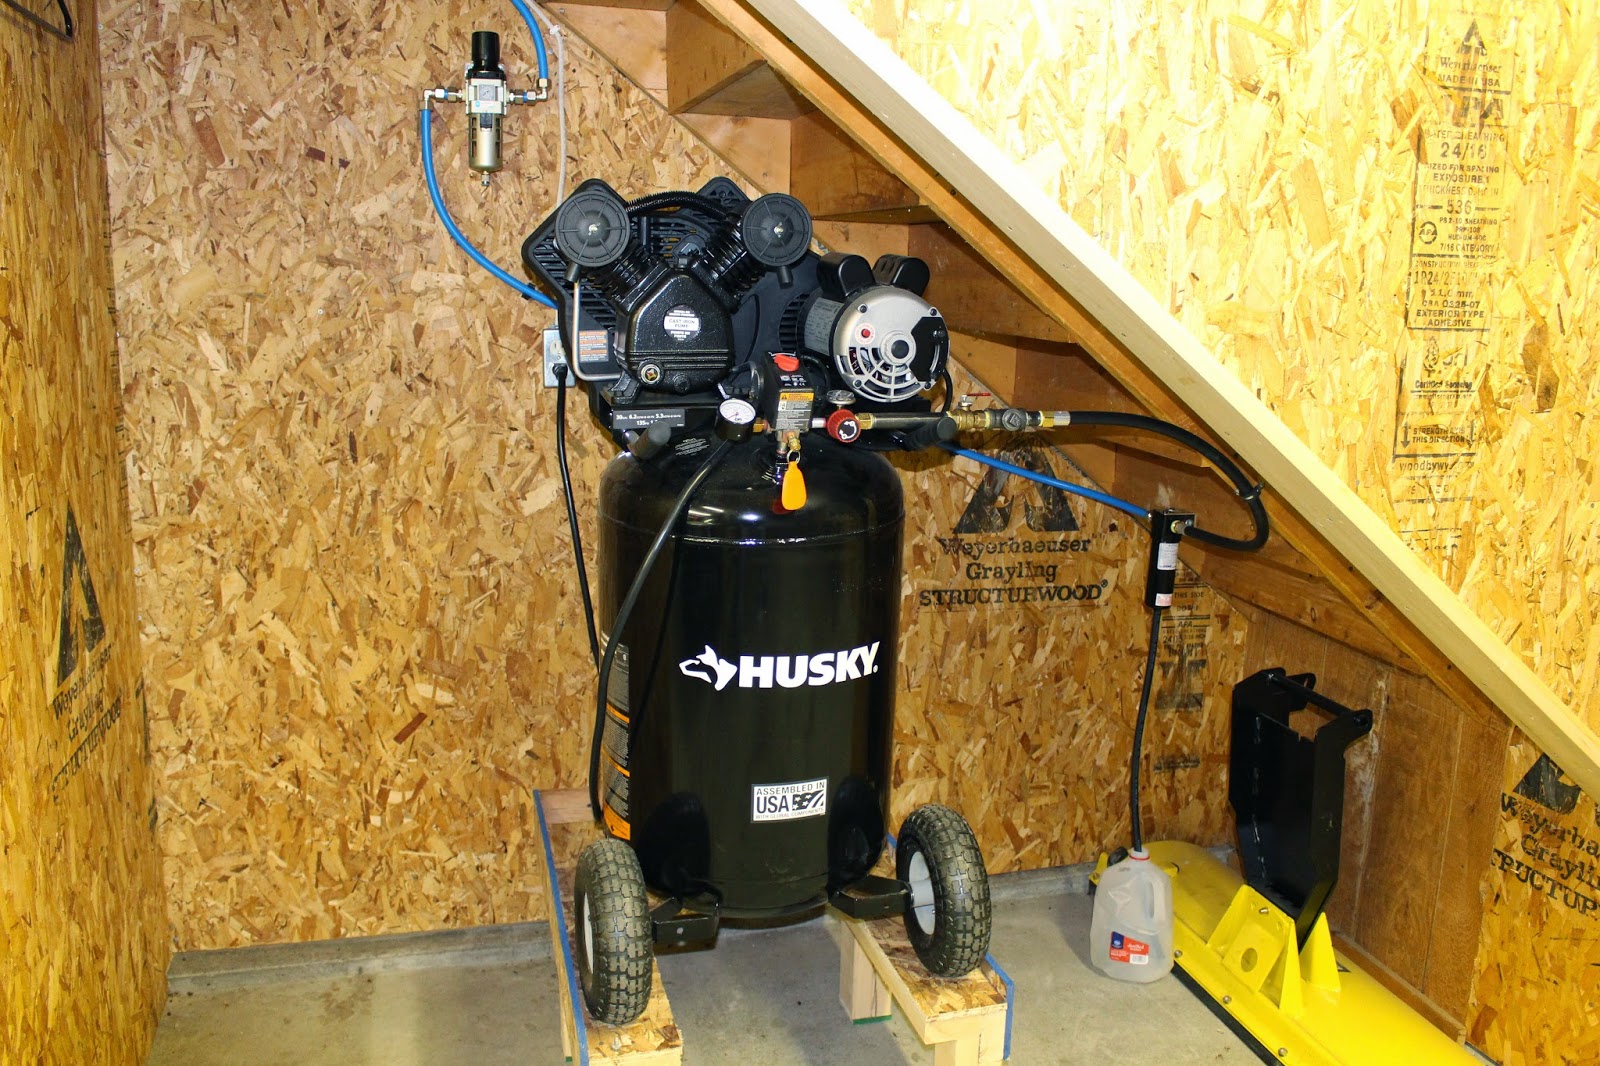
This is where it starts; the compressor, separator and filter/regulator:
The first split. To the right goes through the wall to the main shop,
and to the left goes to the garage and wood shop.
The second split, coming from the right into the manifold. The upper loop goes to the wood shop, the left run goes to a tire filling station, and I used the remaining port for another quick connect point.
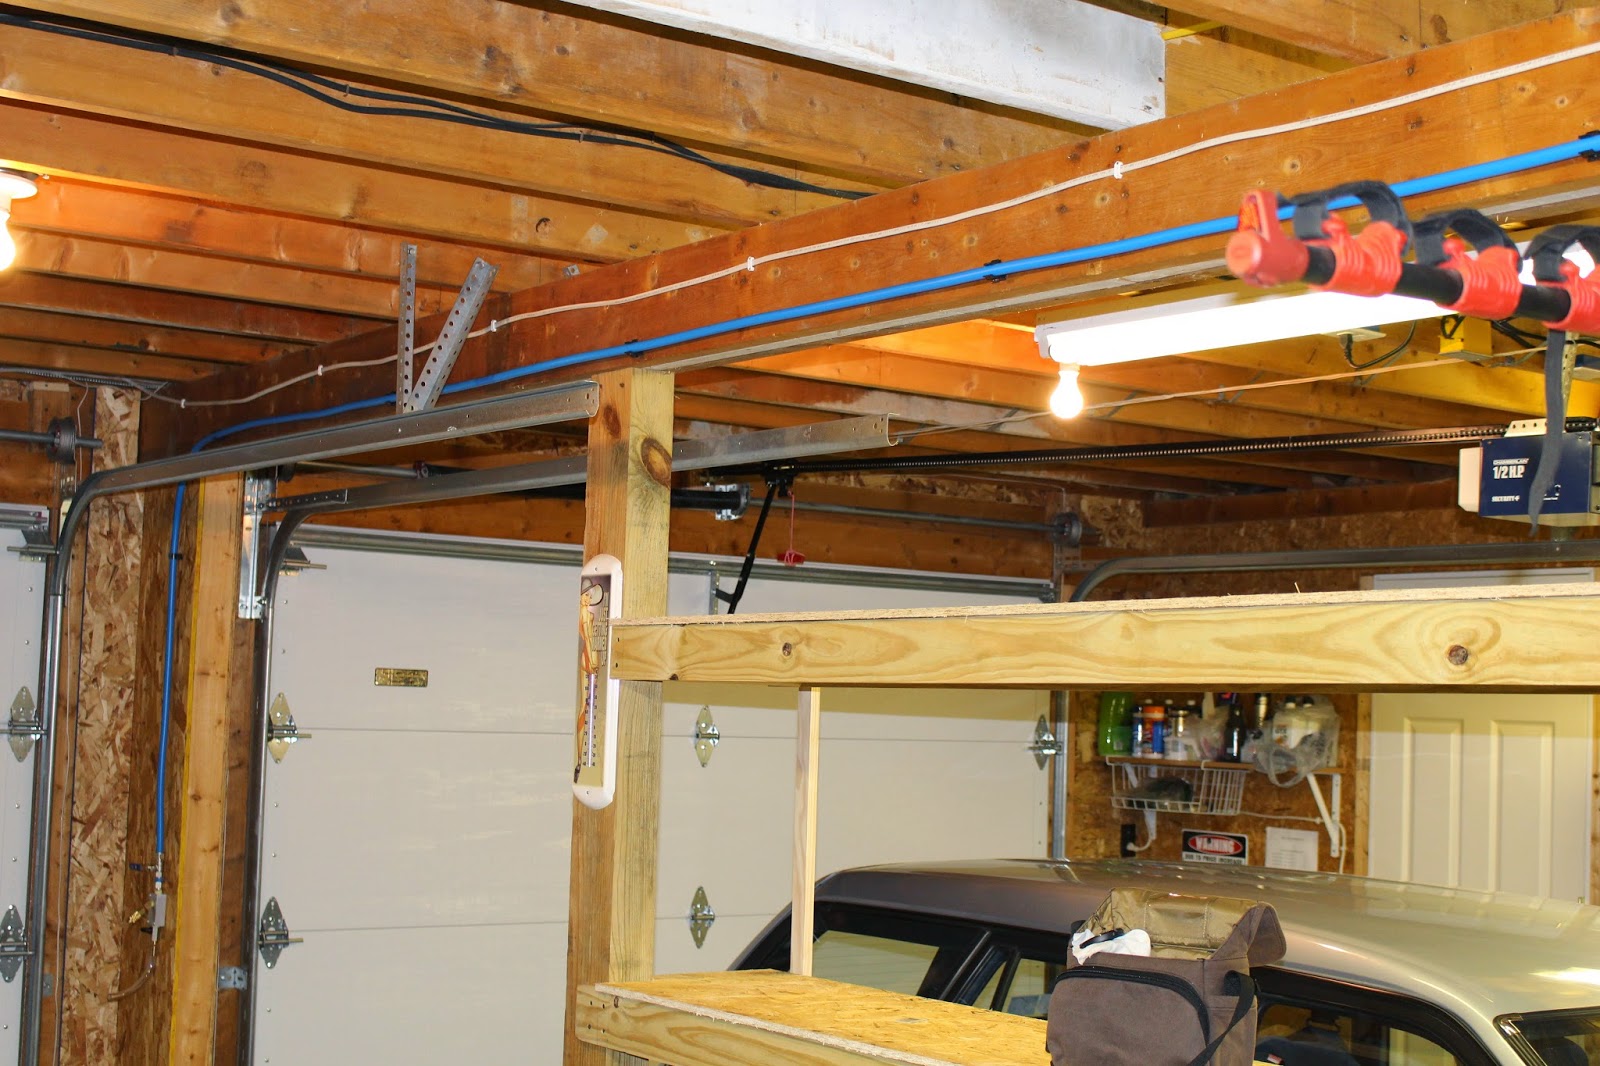
This run goes to the tire filling station, where I can access vehicles in the garage, or outside, without having to add an outdoor connection. I may add a hose reel to this station in the future. This photo also shows some of the new parts shelves I put up in the garage area
This is where the line from the manifold enters the wood shop.
This is the painting station in the wood shop, with a dedicated filter/regulator.
Moving clockwise around the room, this is the first rivet gun/air drill station, at the left end of the L-shaped attached workbench.
This is the second rivet gun/air drill station, at the right end of the workbench. This is the lowest point in the main shop system, and the only one not fed from a top-loop tee, so if there's any condensate left in any lines after the separators and filters, it will probably drain from here. All stations have their own drain valves attached at the bottom, and all will be drained after each use of the system.
This is the second paint station in the main shop. I'm not sure if this one was strictly necessary, but I thought as long as I was advised to set up the main shop as a loop system, I might as well have air stations on each wall; two for painting and two for rivet guns and drills. Their use is probably interchangeable, but the demands of painting favor the plumbing, flow, filtering and regulation of the dedicated painting stations. I'm hoping to find a better place to store the wrapped & rolled Persian rug in this photo by the time the big crates arrive.
I've tested the system, and everything seems to work as planned. With all the tees, elbows and other fittings involved in building this system, I only found one that I had not tightened properly. It popped off quickly with no damage, and was easily reconnected and tightened. The Maxline 1/2" air pipe is really nice to work with, and came together well. The instructions state that the piping will expand slightly as ambient air temperature increases. Since this system was set up in an as-yet-unheated building near the end of a never-ending Michigan winter, with record low temps for March, it will be interesting to see how much expansion might affect the long runs when it gets really hot. I do have service bends and arcs built into the system, so hopefully those will accomodate the expansion without causing any undue bulging or sagging of the straight runs.
This system does not contain any provision for in-line oiling. I was advised to oil my rivet guns, drills and other air tools by merely putting a drop or two of pneumatic tool oil directly into the inlet of the tool before use. This should lubricate it adequately, and this method keeps oil out of the air lines. I may get a bit of compressor oil, but I'm thinking that should be removed by the separator and filters. Most of that seems to accumulate in the air tank, and drains out with the bleed air as I vent the system after shutdown. I'm hoping this will prove to be a non-issue.
Compressed air systems can be very complicated and very costly, depending on what level of perfection you require. I still have a lot to learn about the ins & outs, as it were... especially regarding painting. But based on my current research, I think the system I've created here will be adequate for my needs. Time, and much work, will tell.
So I'm off and running... and someday, I'll be off and flying. The next step is tooling up. I'm looking at the Cleaveland Tool kit they've put together specifically for Van's RV builders as a starting point; I'll place that order next week. And I've already prepped my Vans order form for my empennage; I'll be sending that in the next month. It feels great to be making real progress again!


