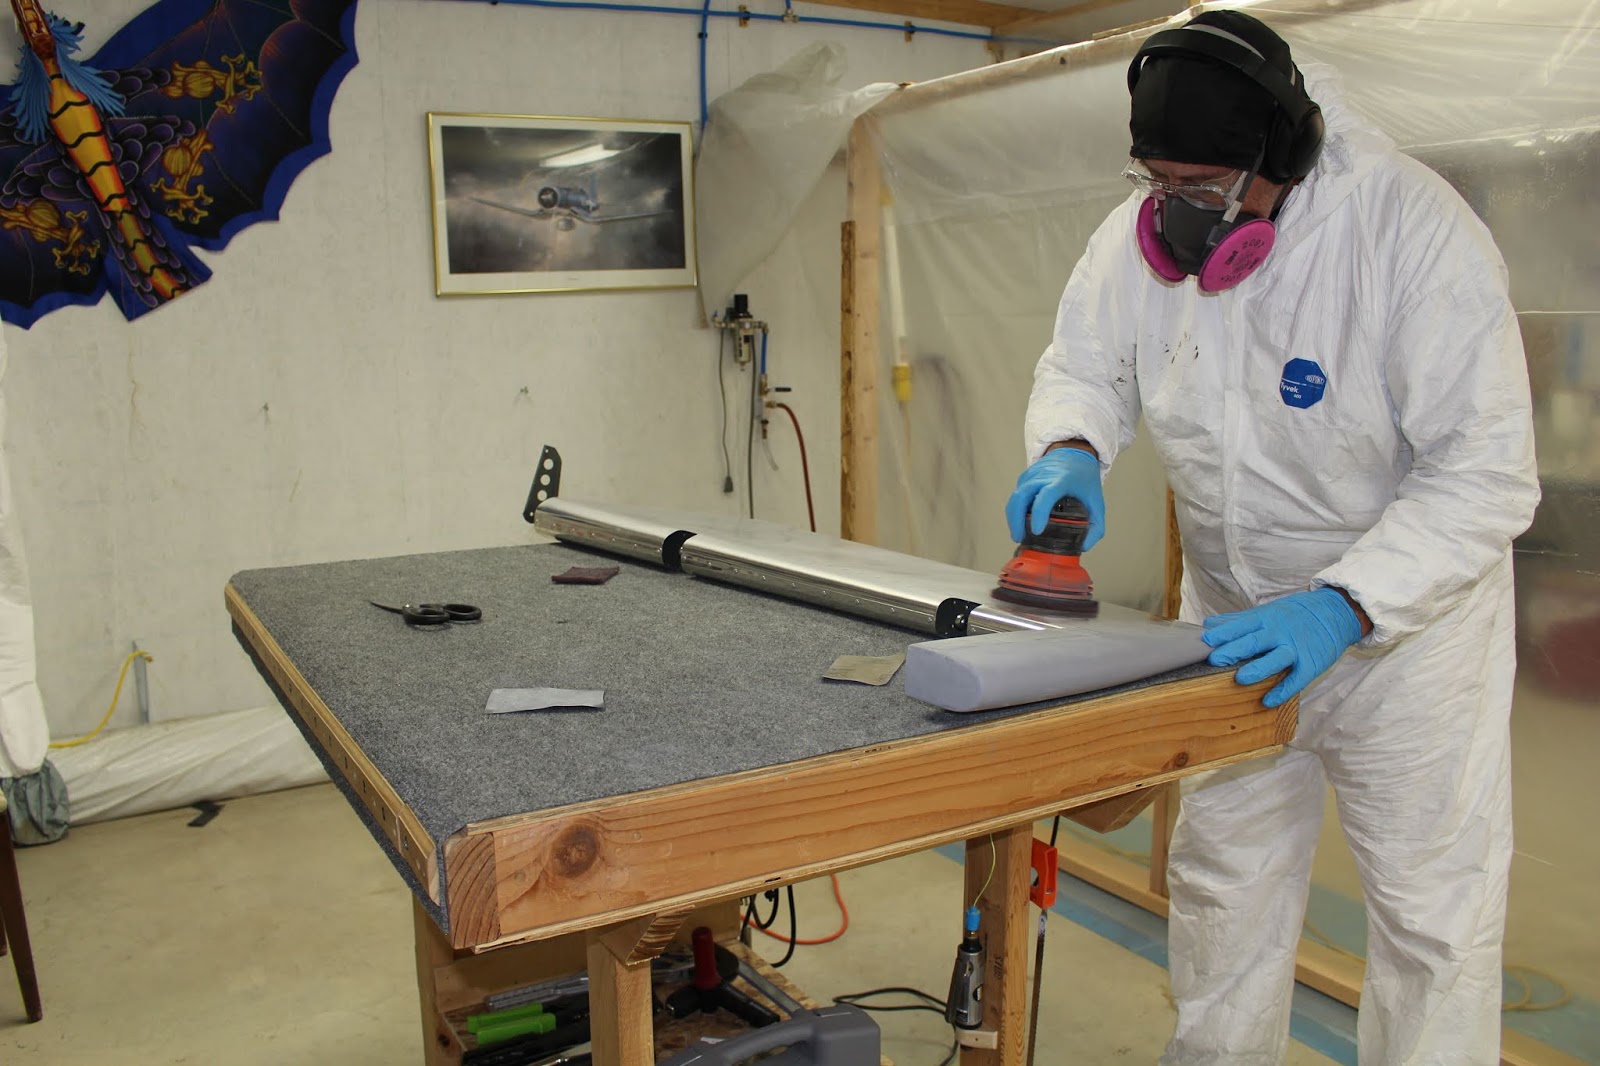
I'm making this post a little earlier than usual because the timing is right; as a result I'm hoping I can get it written quickly and get back to work. I continued my work on the horizontal stabilizer and elevator tips; smoothing, sanding, touching up and resanding. The parts were moved into the paint booth, along with the jigs. I clamped the horizontal stabilizer jig to the larger work platform and put the stabilizer into the jig to smooth the aft edges of the tips. Then it was masked and sprayed with filler/primer. I put extension boards on each of my small furniture dollies and attached them to the legs of the platform to make it easier to move around in the booth as needed. The left tip sanded out smoothly right away and was unmasked. The right side required a little more work so it was touched up and resprayed. The right elevator was reprimed and sanded. When I was happy with the result I brought the jig back over to the shop side and swapped in the left elevator for tip finishing; the right elevator was stored. When both stabilizer tips were smooth, I test-fit the right elevator and was happy with the result. The right elevator was put back in storage and the horizontal stabilizer was removed from the jig and hung on the stabilizer stand; the stabilizer jig and work platform were disassembled, removed and stored. Work continued on the left elevator tip.


The horizontal stabilizer required one minor blemish repair to the bottom skin before it could be prepped for paint. As I was scuffing the skin with a Scotchbrite pad on an orbital sander, I noticed that I hadn't riveted the nut plates on the inboard edges that secure the empennage fairing. With the skin scuffed I couldn't put off painting for very long, so I did a quick review of the plans, gathered the tools and the nut plates... and realized I only had seven out of ten of the required K1000-08 nut plates in stock. And of course it was a Sunday, so there was no way to place a rush order. I called Leo Knowlden and was relieved to learn that he had some spares, so I continued to do the drilling, dimpling and riveting as he arrived with the final three nut plates just in time. The downside was that the air drill left a very light spray of tool oil on the scuffed aluminum skins, requiring some deep cleaning and rescuffing before paint could be applied. I did still manage to get the wash primer and primer sprayed that night, which was a relief.


Based on my experience with the vertical stabilizer, I knew the wash primer, primer and color coats would spray out well with the part in the vertical position, but I was concerned about the clear coat laying down smoothly. After a lot of thought, I realized that if I attached a T-shaped extention to the top of the horizontal stabilizer stand, it would allow me to lay the stand down on either side, holding the part off the floor in an even horizontal position, suspended from the triangulated base of the T arms and the stand legs. I could spray each color with the part vertical (olive drab on top; neutral grey on bottom) then lay it down one way, apply the clear coat and let it set up, then flop it over and spray the clear coat on the other side. Once both sides dried, the stand could be raised to the vertical position again. This worked out very well, and I was happy with the finished coat.


While I was waiting for the first clear coat to set up, I couldn't resist taking a selfie in the paint booth. I also couldn't resist turning it into a meme that you may have seen one online:


When the clear coat cured, the horizontal stabilizer was unmasked and transferred to the jig that I had remounted on the C-frame table. The left elevator and jig were moved into the paint booth and the tip was sprayed with filler/primer, sanded, touched up, reprimed and resanded. I thought about the best way to get both elevators painted and grudgingly accepted that I'd need to invest in two bigger and better paint racks, along with some automotive fender stands that would allow me to lay on the clear coat with the elevators horizontal. So orders were placed and stands were assembled. Thinking about weight distribution with the elevators hanging in the new racks, I realized I had to get creative about how to keep the hanging parts stable. I made up two tabs that I could attach to the counterweight bolt on each elevator, so it would hang from the tab and the horn. I also had to repair some dings that the left elevator and trim tab had acquired during construction and storage. I did one last test fit of both elevators on the horizontal stabilizer to compare the tips before disassembling, removing the horizontal stabilizer from the jig and placing the stabilizer and jig in storage. The dings were smoothed out and the elevators prepped for paint.


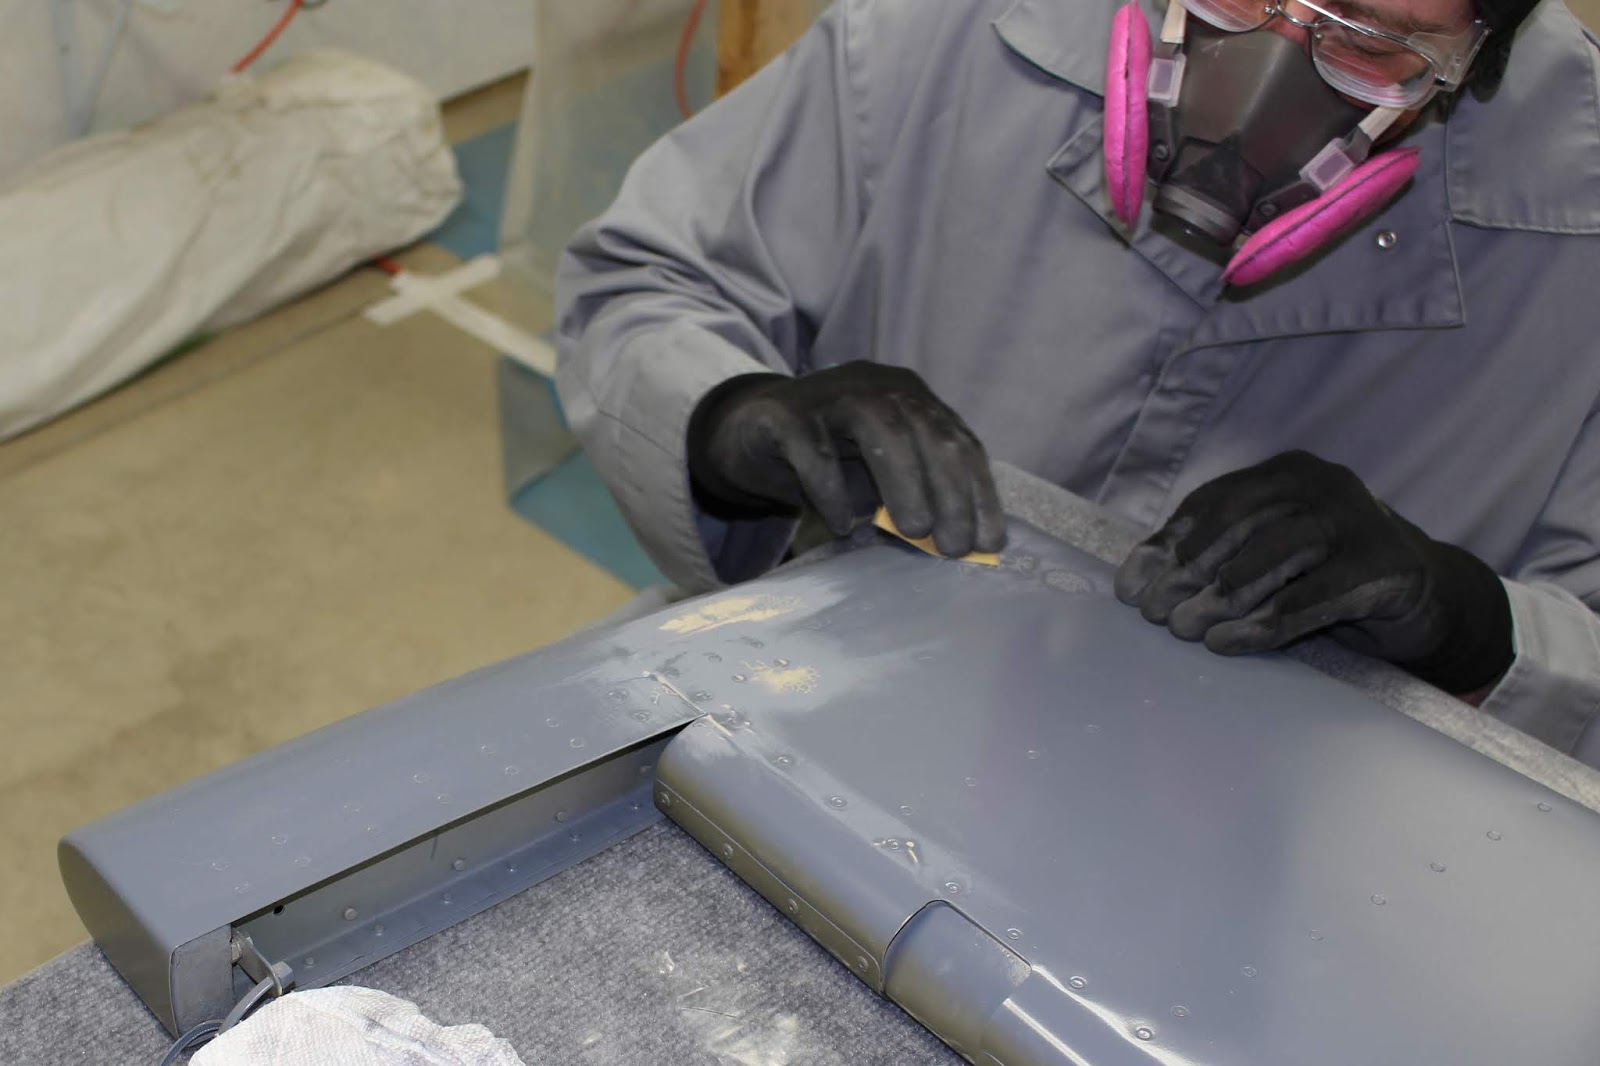
Spraying the parts with wash primer and primer went well... or so I thought. When I sprayed the color coats I got some nasty surprises. First of all, my ding repairs weren't nearly as smooth as I thought they were. Secondly, there must have been some contamination in a few spots; I suspect some cleaning solvent didn't flash off as well as expected. There were some weird spiderweb-shaped flaws in the paint that actually formed tiny sharp raised ridges in the finish. These needed to be sanded down and the color coats needed to be touched up before clear coating. During sanding, it appeared that the raised material actually went down to the wash primer. I will have to confer with Sherwin-Williams to determine what may have caused this to occur; this wasn't the usual fish-eye paint blemish that you'd expect from contamination. In any case, the parts were sanded and re-smoothed, including some runs in the primer and some areas that were undersprayed or contaminated by dust.


I had considered shooting the clear coats with the parts in a horizontal position because that had given me good results when I had clear coated the horizontal stabilizer. But in the end, practicality held sway. I couldn't lay these parts horizontal, spray the clear, then flip them and spray the other side as I had with the stabilizer. There was no way to jig them for that, and I didn't want to have to wait for one side to cure completely before spraying the other side. So the elevators and trim tab were clear coated while hanging vertically in the racks. In the end, the result was acceptable, I guess. To be honest, in retrospect I think my paint work is crap. I didn't do the greatest job of laying down a smooth clear coat. The horizontal stabilizer turned out pretty good, and most of the other parts should buff out okay... but I suspect I'm going to have to sand and respray the clear coat on the vertical stabilizer. I sprayed it with the gun distance too far off, and it's just misty and mottled. That sucks, but at least it has a good coating for storage.


When the clear coats had cured enough to allow handing of the parts, the paint booth was dismantled and the fuselage brought from the garage side back over to the shop. The engine would fare better being stored in the heated shop during the winter and I will be able to continue working on the canopy and cowling. It was finally time to get some airplane parts to the hangar. The horizontal stabilizer needed to be transported in my trailer, so I screwed the stabilizer jig down to the floor of the trailer and placed the horizontal stabilizer in the jig, which seemed the most secure way of transporting it; no additional tie downs would be required. The stabilizer paint stand was also transported in the trailer, as it was too large to be hauled by the Yukon. Once the horizontal stabilizer was safely at the hangar it was removed along with the jig and stand; the trailer was detached and stored. The elevators, trim tab, rudder and vertical stabilizer were carefully wrapped and transported in the back of the Yukon, with the vertical stabilizer jig table and assorted parts and tools carried in the front passenger seat. Now that I had airplane parts at the hangar, it was time to start the conversion of the hangar from a storage space to a shop space. I built a workbench out of an old repurposed solid core door and some lumber. A 4'x8' plywood sheet was hung on a wall for use as a poster board; extension cords were run, power strips installed and additional lighting set up. I was eager to see if I could mount the finished empennage parts on the old empennage stand. That stand had been eyeball engineered for holding the stabilizers, rudder, elevators and trim tab once the tail kit had been completed. But that was prior to the mounting bracket being added to the front spar of the vertical stabilizer and the rudder bottom being added to the rudder. The wooden top saddle assembly I had designed to secure both stabilizers couldn't be used with the finished vertical stabilizer. I would also have to see where the aft spar saddle would place the vertical stabilizer in relation to the front spars of both stabilizers. As it turned out, the fit was much better than I had dared hope. Somehow, the fore/aft and side to side spacing were both perfect and the vertical spacing was only off by about 3/4". With the rear spar of the vertical stabilizer held by the aft spar saddle, all I had to do was sandwich the front spars between a small piece of plywood and a chunk of nylon and clamp the assembly tight with a large C-clamp. Drilling bolt holes in the plywood proved unnecessary. I did need to remove some material from the back of the aft spar saddle to make room for the rudder bottom, as I had on the jig table. But I was able to set up the entire empennage on the empennage stand; an ideal storage solution that would make the assembly easy to move around as needed.


That brings us to the present. Further progress on the airplane has been sidelined for a short period as winterizing chores had to be done; vehicle prep and storage; equipment and vehicle relocation, etc. I was glad to get the painting done and fuselage moved right before our first snowfall; it wasn't an accumulation, but winter has indeed arrived.
In other aviation news, EAA Chapter 113 had its final Young Eagles Rallies of the year. Chapter 194 had its first Young Eagles Rally, and on the same day Steve Thorne held his Flight Chops Day at the Canadian Historical Aircraft Association in Windsor. I managed to attend both events as a photographer; it was a very long and very fun day.
In other aviation news, EAA Chapter 113 had its final Young Eagles Rallies of the year. Chapter 194 had its first Young Eagles Rally, and on the same day Steve Thorne held his Flight Chops Day at the Canadian Historical Aircraft Association in Windsor. I managed to attend both events as a photographer; it was a very long and very fun day.


I got my 3rd Class Medical Certificate renewed and got some recurrent training, including a checkout in Crosswind's new Diamond Star DA40 that has a constant speed prop. I took that aircraft for a scenic flight that I'd been planning for years; a loop around the Metro Detroit area using flight following. It went pretty well; my radio work is a bit rusty, but it was a beautiful fall day to fly and the flight went very well. I took some photos and shot some video, I'll include a link to the video on my YouTube channel.


Well, as usual, it took longer than expected to do this entry and it's longer than anticipated... but that's mainly because of all the photos. Glad this is done, because I've got to get to work on the slideshow presentation of the Chapter 194 Young Eagles Rally that I'll be showing at our meeting next Wednesday. Also hoping that some of my photos are used by Steve Thorne in his coverage of the Windsor event... and there's a chance that I might have a photo published in the Van's Aircraft Calendar for 2020. We'll see how all that goes. Then I'll get back to work on the airplane in the nice warm shop during the nice cold winter. Stay tuned... and see you next year!