This last month has been the continuation of an extended transitional phase of the build. Hangar use has shifted from storage to work site; this required a quantum shift in logistics and planning. I had to optimize the tooling and functionality of the hangar without compromising the ability to work at the home shop. I couldn't afford to duplicate all my tools, so decisions had to be made what needed to be where, based on the work to be done at each location. It took a while to establish routines for trips to the hangar without forgetting anything, and it's still definitely a work in progress. I also built a blueprints case that would let the sheets lay flat and remove the annoying curling that comes with rolling them into tubes.


Painting the cowling halves was the next step. Tried different ways of minimizing pinholes with varying success. Eventually the basecoats and clearcoats went on and the results are far from perfect, but acceptable. After the clearcoat cured the cowling was moved to the hangar.


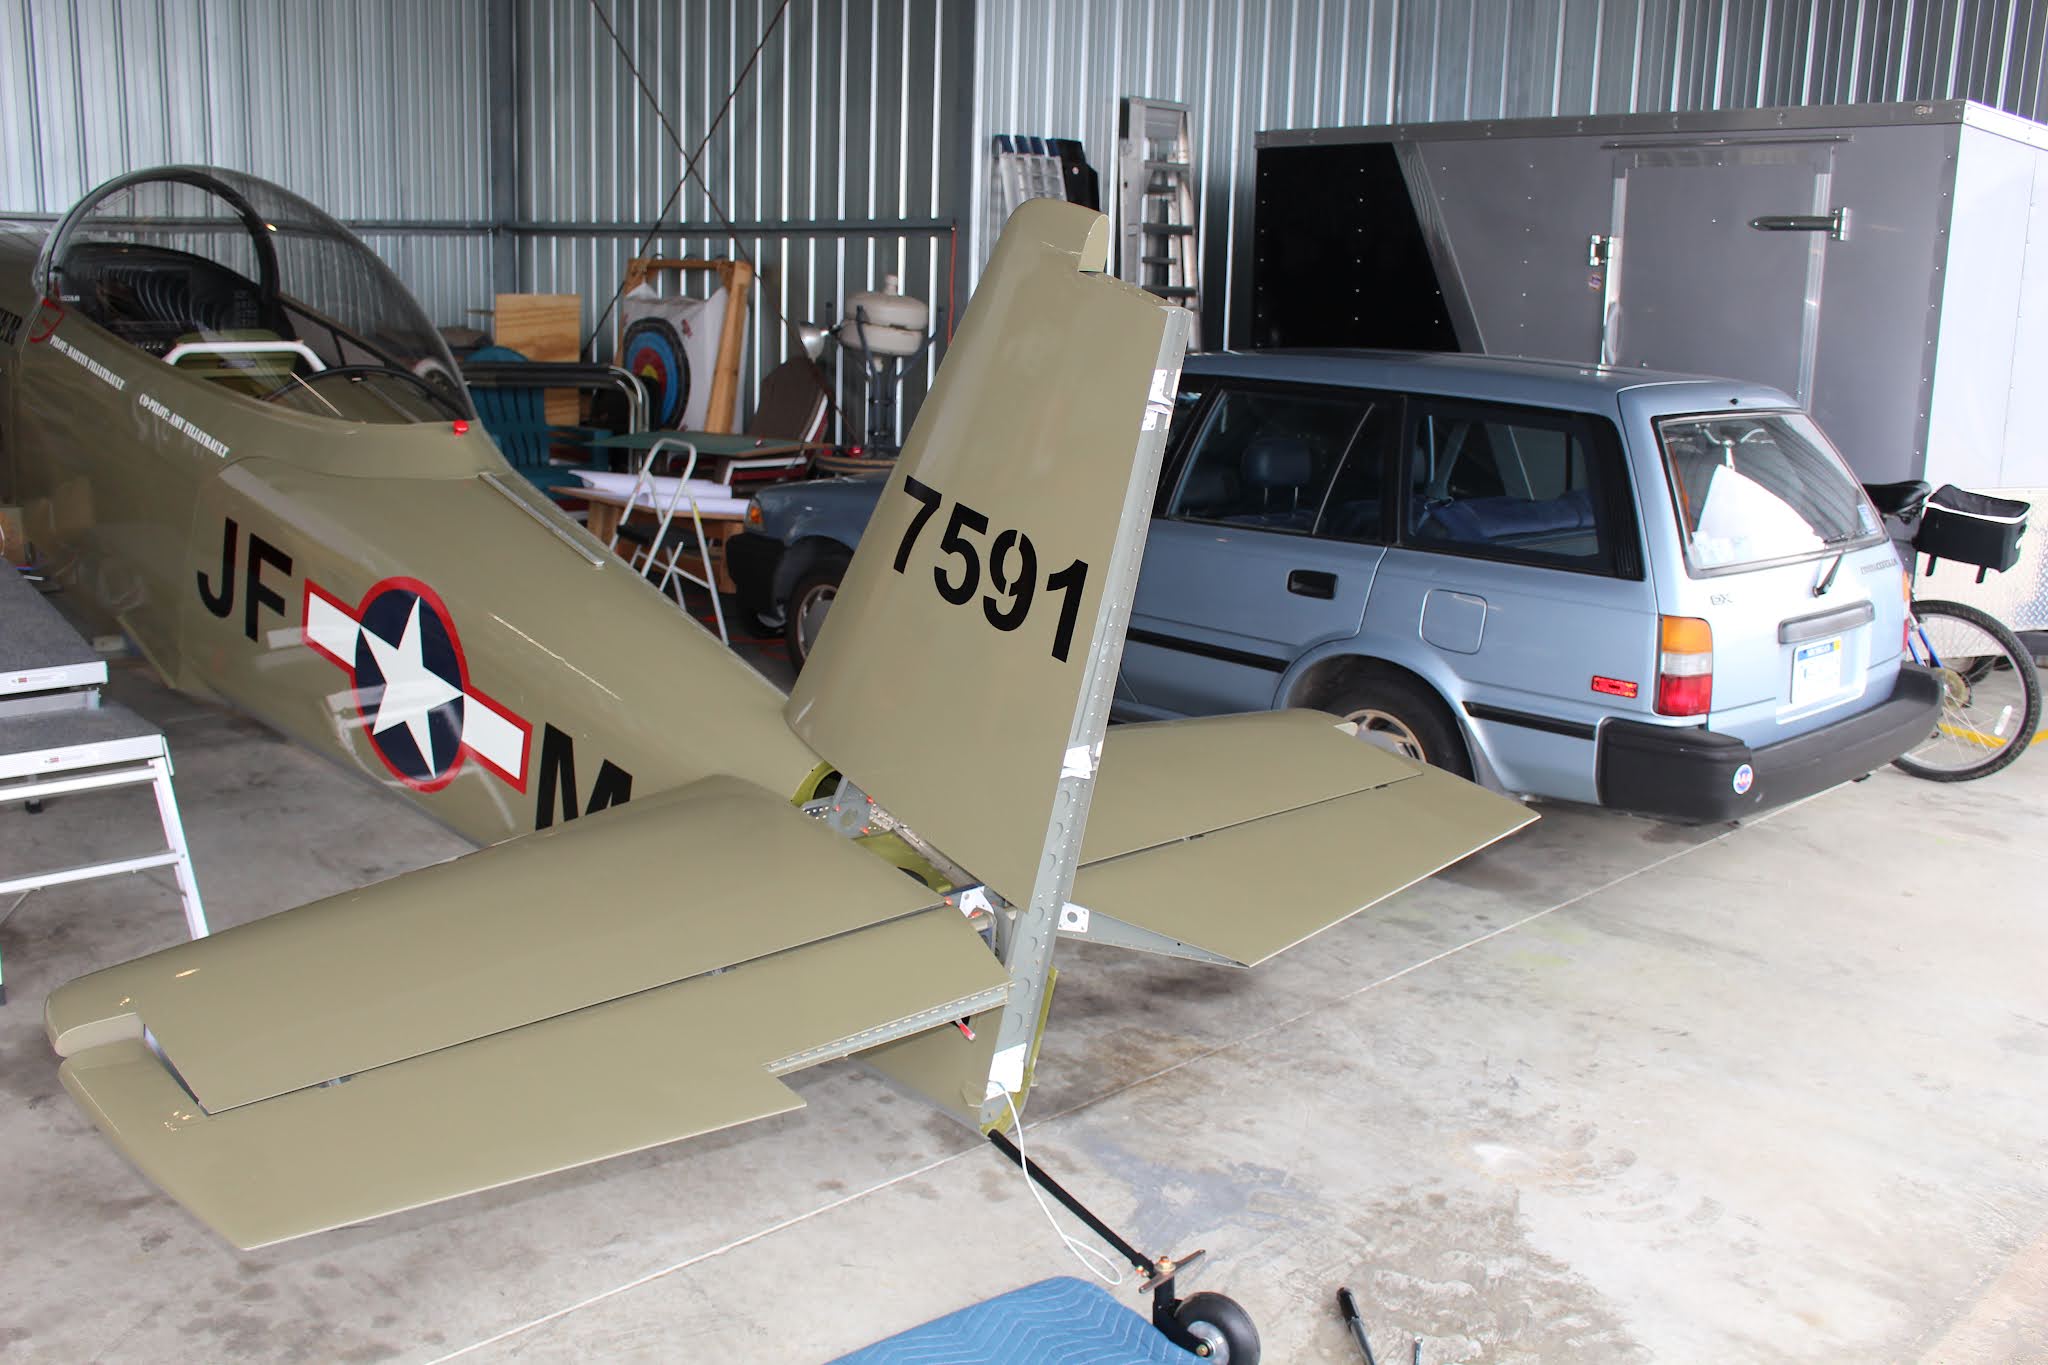
Now I was able to begin final assembly. The rudder cables were rerouted and the Adel clamps secured before working on the empennage. It's been awhile since I've assembled the tail feathers and there were a few missteps in sequence that slowed the process. Access to bolt and nut locations is a lot more difficult with the fuselage complete. Nuts, washers and bolts were often taped to a fingertip in order to reach the desired location . Eventually the horizontal and vertical stabilizers were bolted, torqued and sealed in place.


The elevators were mounted next. Having the vertical stabilizer in place made this installation a lot more difficult, but if the elevators were done first it would have made it much harder to reach inside of the fuselage to secure the vertical stabilizer nuts. The hardest thing about the elevator installation was getting the washers in place between the horns and the center bearing. Even using the washer holding tool, it was a nightmare of dropping washers and retrieving them with the magnet wand, over and over. It took three hours to install six washers. In retrospect, I should have had special spacers machined to install, but I followed the plans and the job got done. Then I realized I had left a task undone: I had forgotten to reroute the manual trim cable out of the aft upper bulkhead and through the horizontal stabilizer spars. With everything installed, the only way to do it now would be to crawl into the tail, grab the cable and poke it through the holes; another nightmare that would require refabricating support boards to lay on inside the fuselage. I could remove the empennage and start over, but there was no way I was going to undo and redo all that work. It took a while to make up the boards; I tried using upper longerons for support to make the boards simpler but a test showed that the remaining bulkhead openings would be too small to fit through. The battery had to be removed and other power cables detached. After successive modifications the boards were assembled and in place and the cable rerouting started. Getting the cable through the bulkhead and spars was another nightmare because the holes aren't in a straight line and the cable can barely make the required bends. More pulling, pushing, struggling and cursing ensued before the cable was positioned inside the left elevator. I couldn't resist hanging the rudder, although it would have to be removed and reinstalled several times after this.


While all that was going on, I was also painting the wings. James Turner helped me move the left wing into the paint booth and onto the rotation jigs. The left fuel tank was retested with a fresh balloon and the result was positive. The wing was masked, cleaned, scuffed, wiped down and sprayed with wash primer and primer. Then the basecoats were started; the bottom was sprayed with neutral gray and the top was sprayed olive drab.


While paint was drying, work continued on empennage final assembly. The elevator pushrod was installed and the forward end was torqued and sealed. The rudder came off to allow working clearance to insert the trim tab hinge and bolt the aft end of the pushrod to the elevators with washers in place. The bottom rudder fairing was also contacting two of the vertical spar bolt heads and would need to be modified for clearance. Up until now I had been using a temporary trim tab hinge pin. The permanent hinge pin is longer and has two bends to allow it to be safety wired to the aft elevator spar. The trim cover plate was painted and the manual trim was assembled. It was a struggle to get a little more trim cable extension out of the left elevator for proper adjustment and assembly of the trim cable anchor to the cover plate. Riveting the anchor to the cover plate was much more difficult than anticipated and two blind rivets had to be used where there was no clearance for a squeezer yoke. The design of the manual trim system is a bit wonky; having the anchor riveted to the cover plate means that rivets would have to be drilled out to allow disassembly. Hopefully that will never be needed. I also discovered that I had designed the trim knob placard incorrectly because I had forgotten that moving the trim tab down deflected the elevator up resulting in a nose-up trim, and vise versa. I called Jason at Aerotronics for another placard decal and he got it to me quickly.


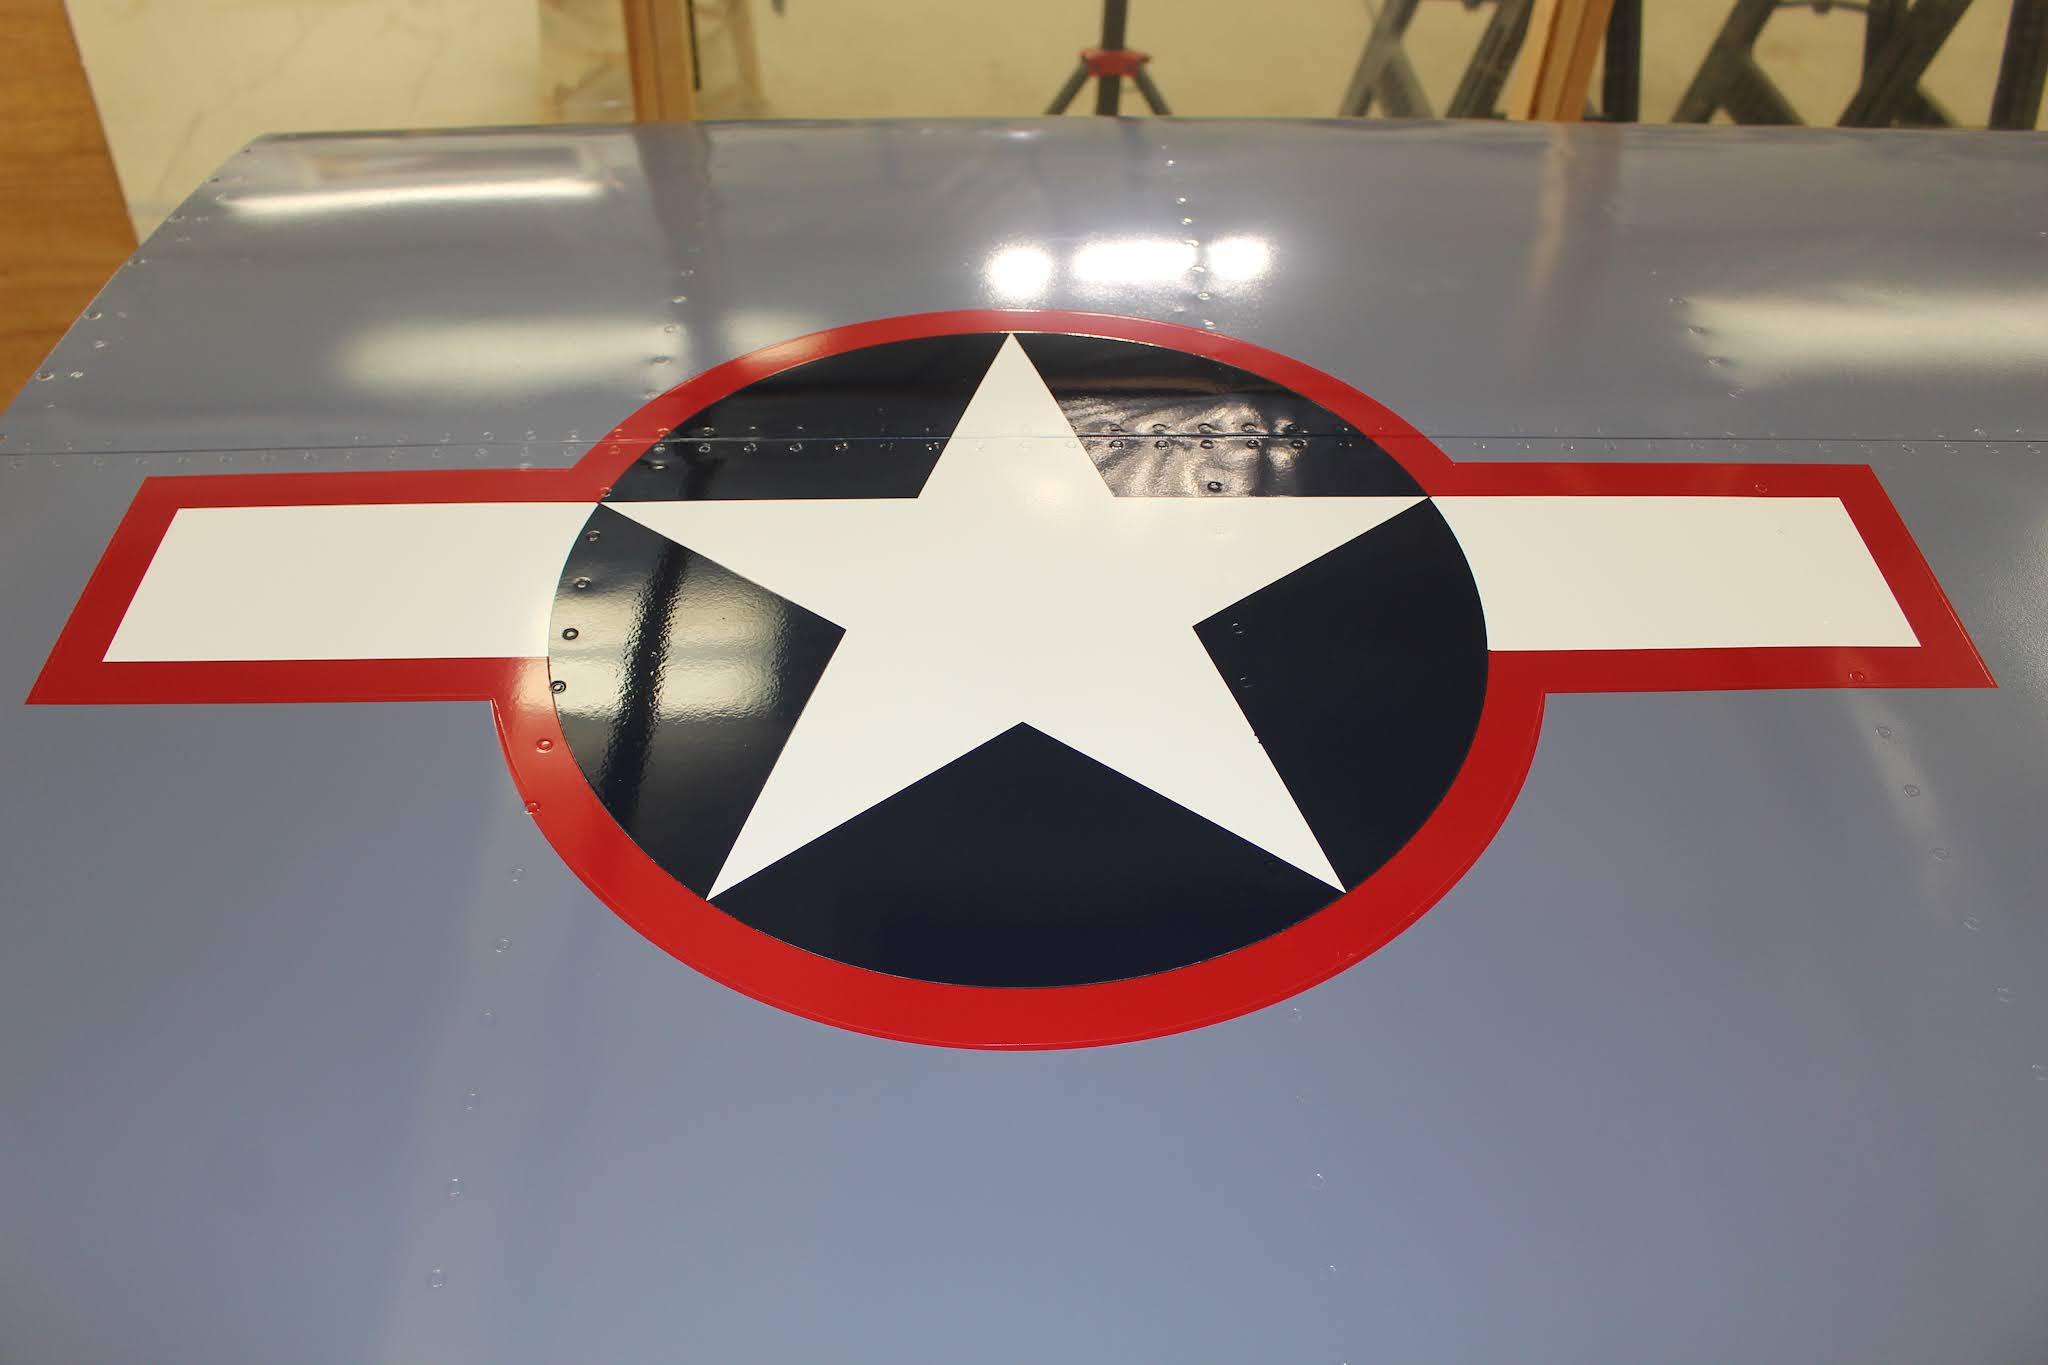
With the main basecoats applied to the left wing, it was time to paint stars/bars and lettering. The left wing displays the stars/bars on the top skin; the first coat is the white field. I also wanted the fuel tank placards in white, so that stencil was also applied. Some fine line tape was applied around the outer border of the white mask to make sure it would be well covered by the red field. I also had to add tiny strips on the fuel tank placard because the font used had virtually no space between the C and the T in OCTANE and I didn't want those letters to appear connected. The red field was next and the blue field was last. I was happy with the results; no touch up required.


While those paint layers cured I modified the rudder bottom fairing to provide bolt head clearance. It took several rounds of mounting and unmounting until I had nominal results. The rudder was then permanently bolted to the vertical stabilizer, routing the tail strobe wiring through the rudder bottom. All nuts were torqued and sealed, and the tailwheel springs and chains were attached. At this point I couldn't resist rolling the fuselage outside and practicing ingress and egress, canopy actuation and just enjoyed sitting in the cockpit.


The left wing was clearcoated and cured for a day before being unmasked and the rotation jig removed from the spar. With assistance from James Turner, the left wing was moved out of the paint booth and placed in the wing stand. The right wing was moved into the paint booth and the wing stand was stored in a garage bay.


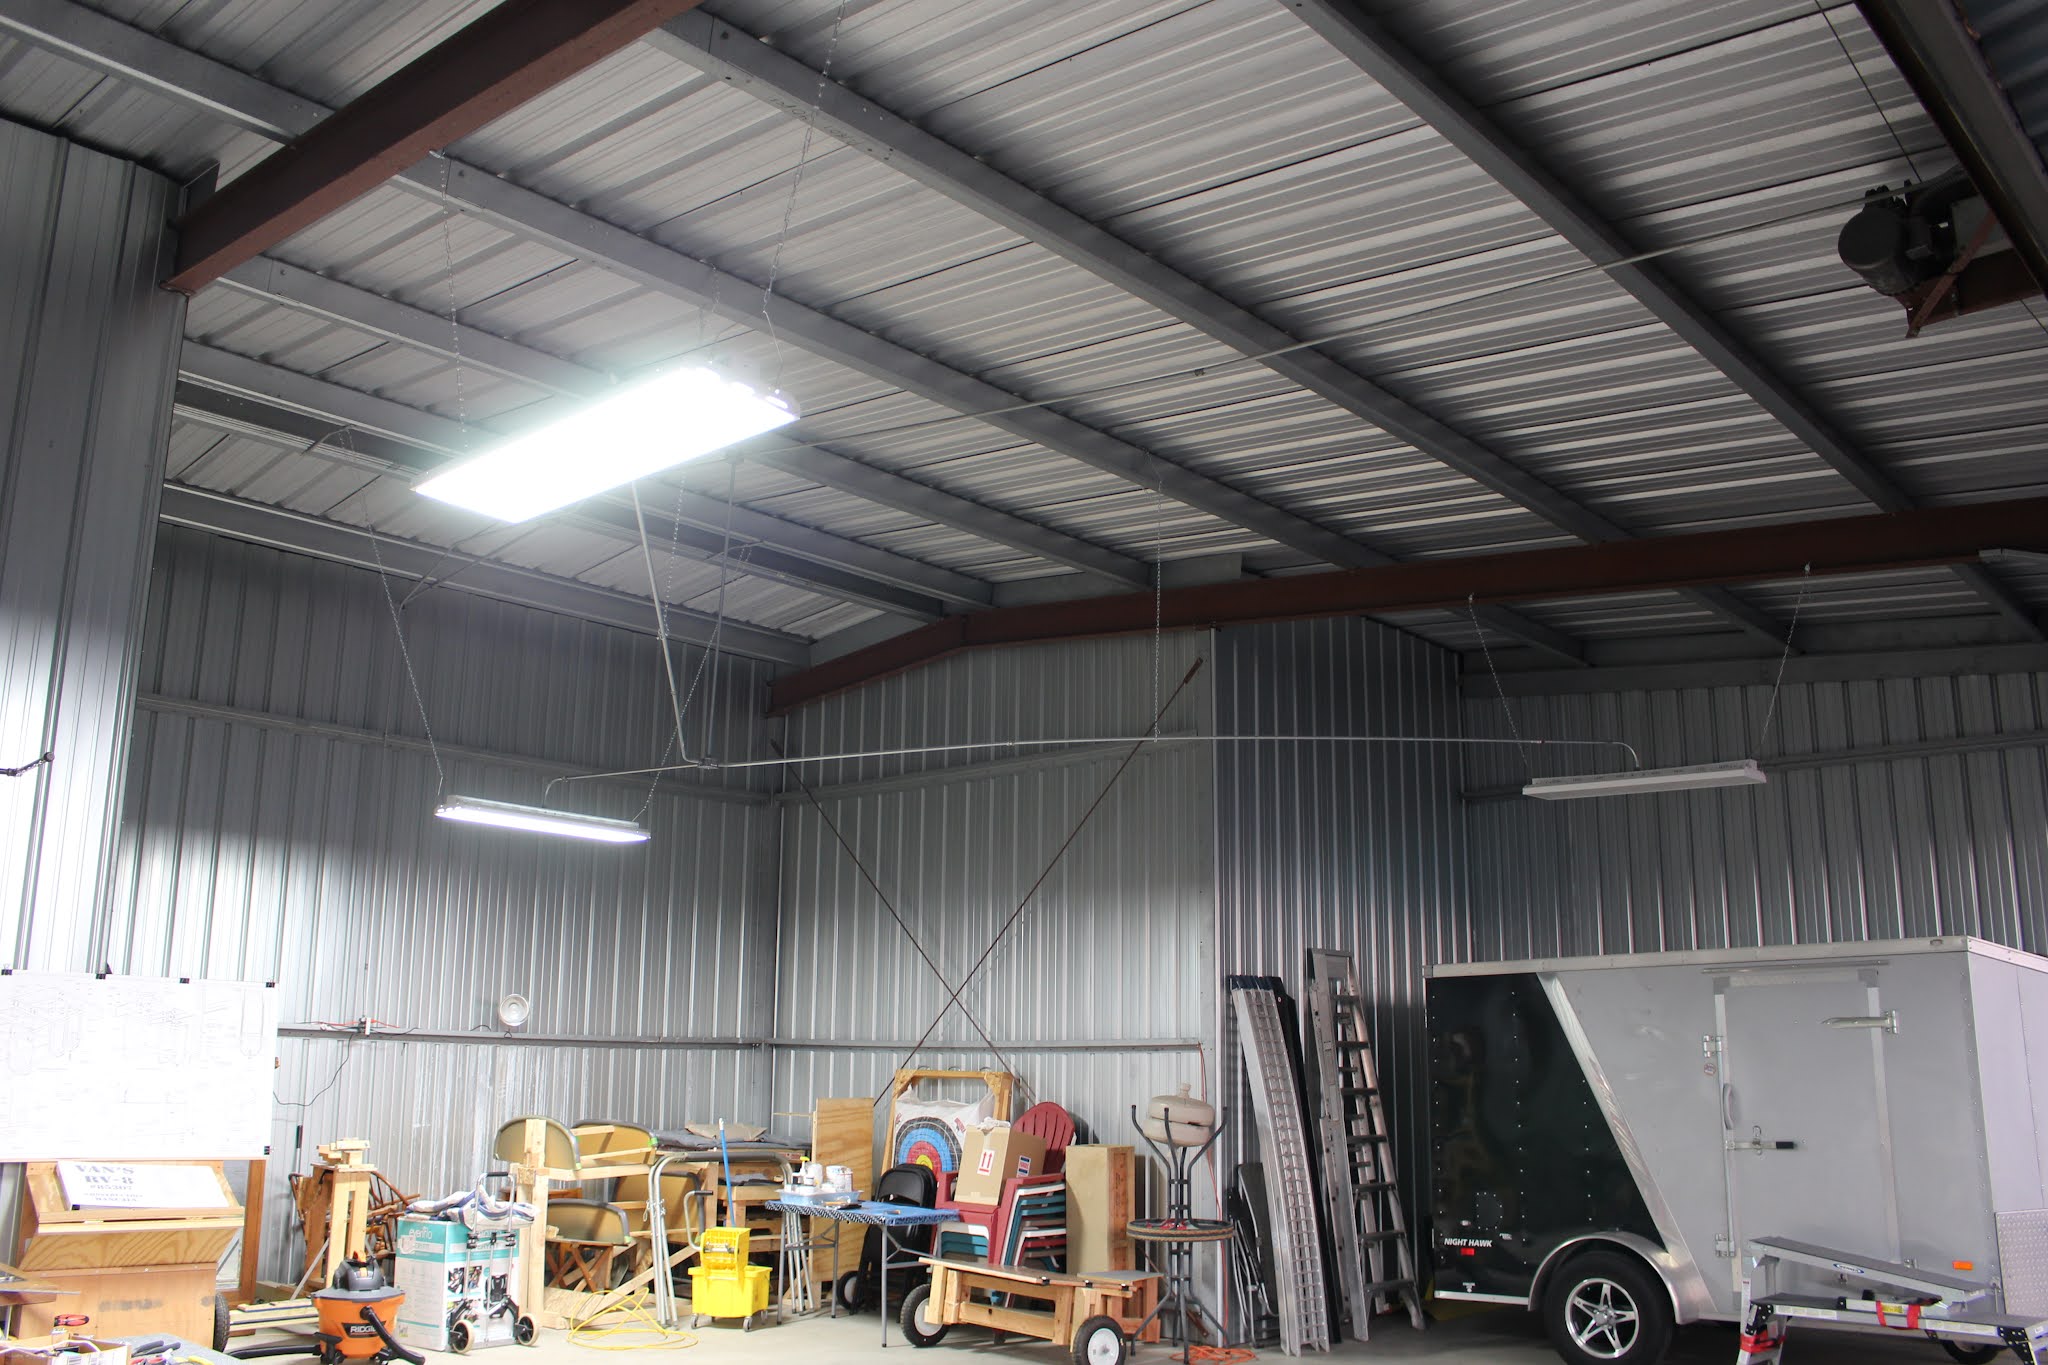
While the clearcoat was curing on the left wing, I tackled the task of installing new LED light fixtures and conduits in the hangar, replacing the single bulb in the center of the ceiling. I had intended to rent a small man lift for this job, but the rental fees for man lift and trailer were outrageous. The man lift trailer required a pintle hook instead of a ball hitch and I couldn't use one with my Ford Explorer. They would deliver it... but those charges were even more outrageous. I ended up saving many hundreds of dollars by renting a painter's scaffold with wheels and extensions that fit nicely in the back of the Explorer. It made the job a little more difficult than using a man lift but it worked well enough. After the fixtures were hung I had to make several trips to the hardware store for conduit, joints, wiring and other supplies. It was a long, hot, exhausting day and I sweated off about six pounds but I finished the job in about ten hours. A test of the new lights was mostly successful; one fixture wouldn't light but it was just a loose wire nut at the fixture and was easily fixed the next day. The new lighting is excellent and worth the money and sweat expense.


Painting the right wing followed the same procedure as the left wing except the stars/bars were on the bottom skin instead of the top. One classic painter's mistake was made on the top skin. After switching olive drab basecoat pots, I tried to do a bit of touch-up without turning on the air pressure valve and a stream of olive drab squirted out of the nozzle and splashed onto the wing. I sanded the affected area lightly with 600 grit sandpaper before spraying the clearcoat, and it's now unnoticeable.


While the right wing cured, the fuselage was prepared for wing installation. The seats, seatbacks, console covers, cockpit floors and spar box inserts were removed. Cardboard angles were placed on the protruding edges of the bottom center skin to protect the wing wiring extending from the fuselage. The protruding fuel lines were flared with the fittings in place. Lag bolts were wrapped with a protective layer of PVC tape and used to secure the left spar, and eventually the right wing spar, to the wing stand. The hangar was rearranged and lines were snapped onto the hangar floor indicating the hangar center line and main gear track. The second long work table, sawhorses and other support stands were moved to the hangar for use during wing installation.


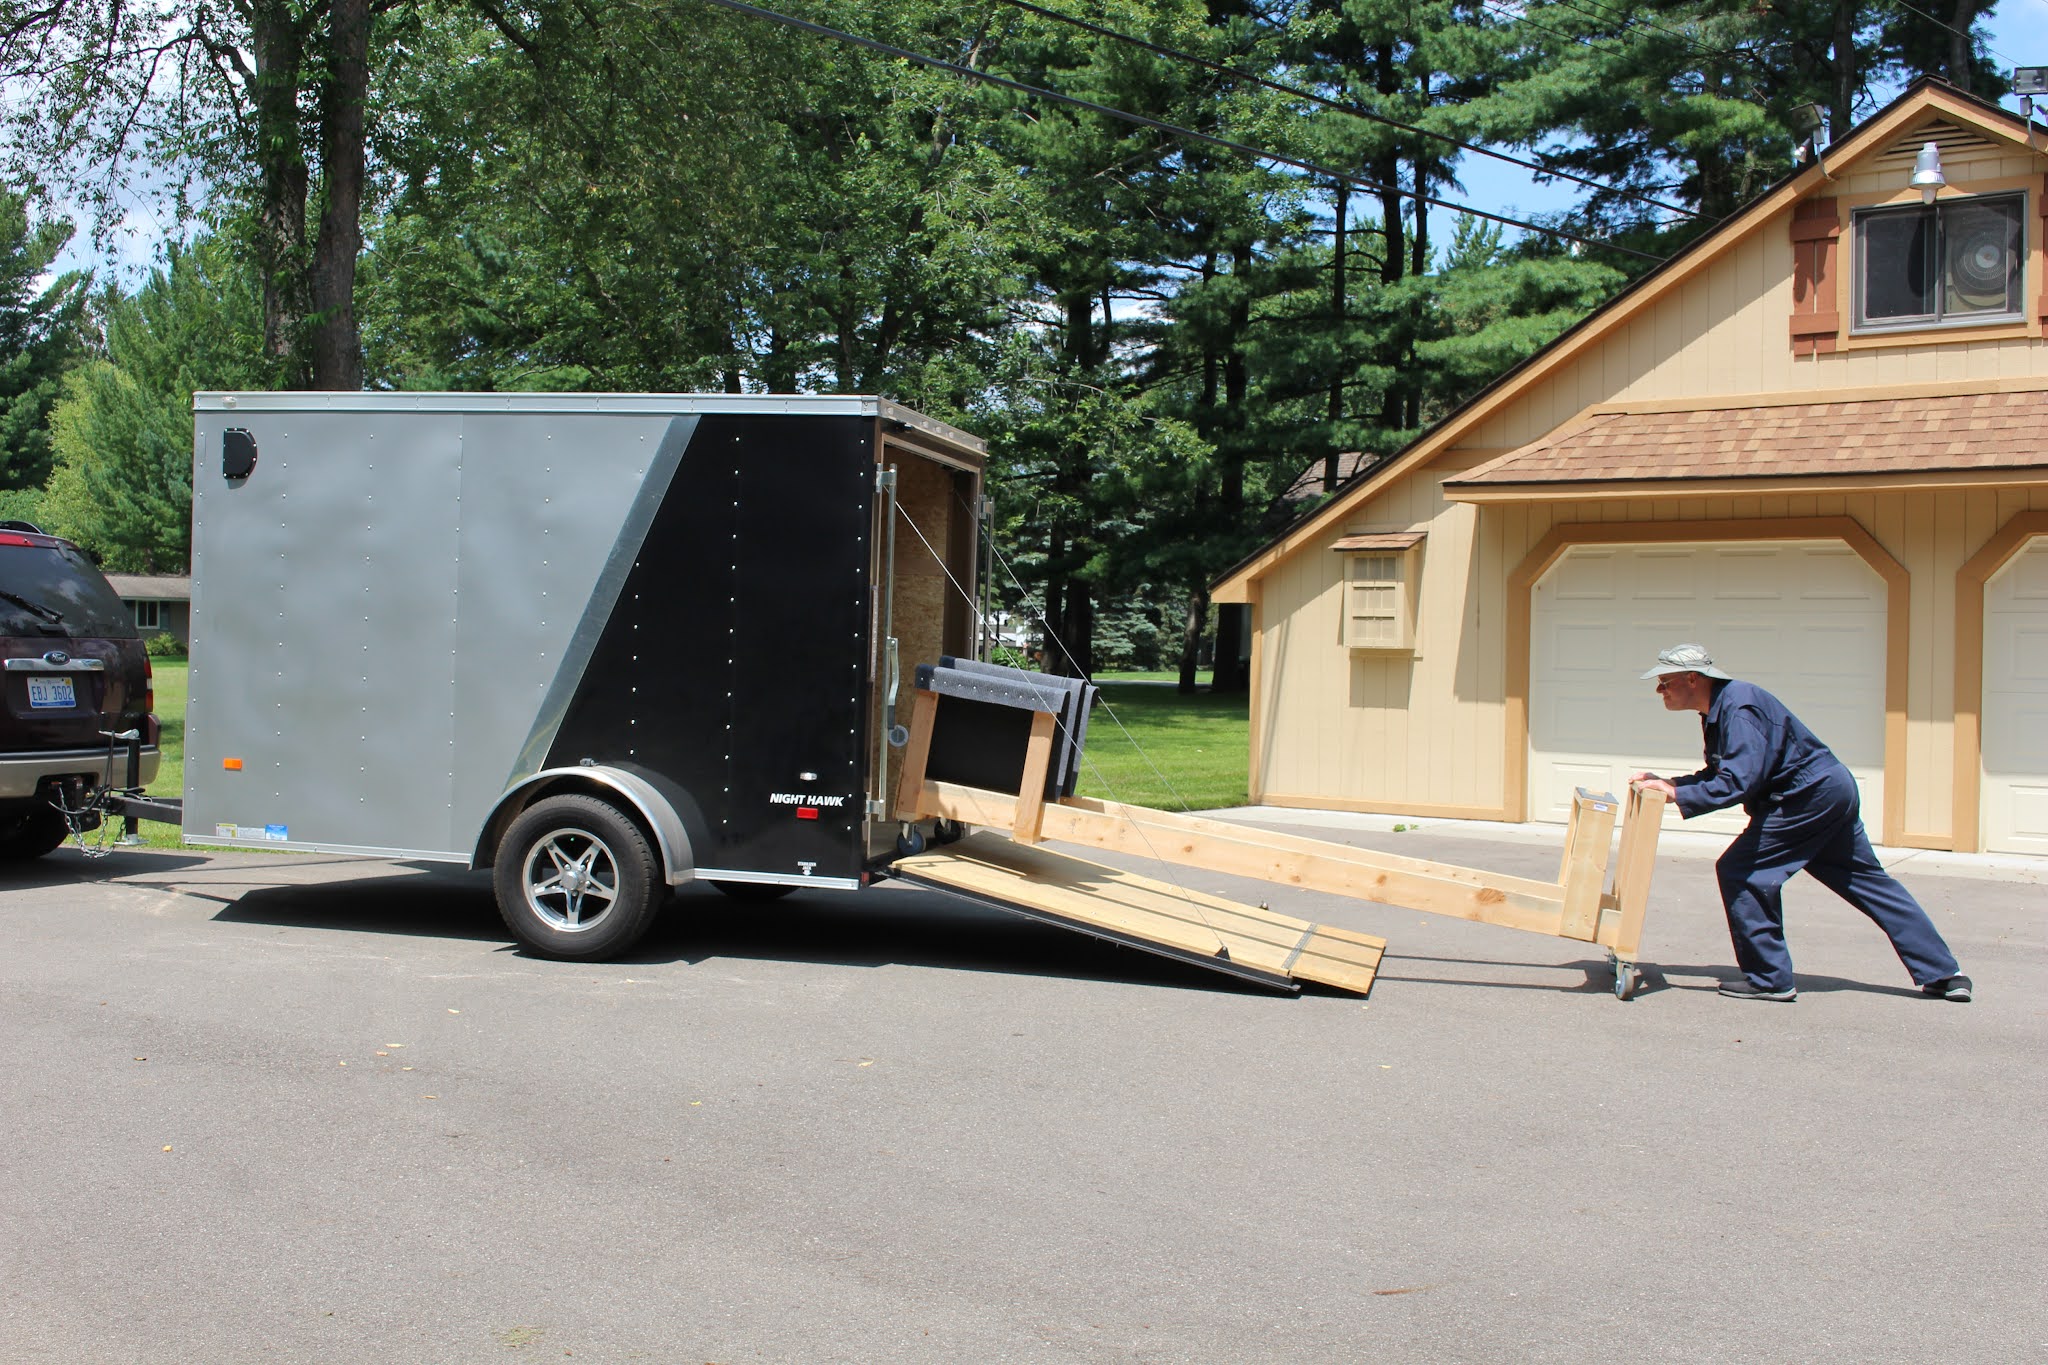
When all was ready, the trailer was prepped and a gap seal was cut to allow the loaded wing stand roll smoothly into the trailer. James Turner helped to move the right wing out of the paint booth and onto the wing stand. The right spar was bolted to the stand and the stand was rolled into the trailer and strapped down tightly. Transport went smoothly and the wings were offloaded and stored in the hangar.


I borrowed Ted Gauthier's tail lift, raised my fuselage to near level and used my empennage stand to support it. Both spars were unbolted from the wing stand. The long table legs were placed on dolly adapters and the right wing was moved onto the rolling table with assistance from Jarrett, a local hangar visitor. Wires were routed through the wing conduit and the roll trim servo cable was wrapped in spiral conduit and fed through the large rib lightening holes. I pondered on how to set up the left wing for assembly. The pitot mast made it impossible to set on a long table; sawhorses would work but they wouldn't roll. Eventually I swapped the rolling table with sawhorses for the right wing. Hangar mates Bob Rush and friends helped me transfer the left wing onto the rolling table at an angle temporarily. I set up the other long table on dollies and carefully maneuvered both the wing and the tables until the left wing was supported by both tables lined up parallel to the fuselage with a gap in between for the pitot mast.


Some more prep steps had to be done before the wings were installed. I wanted to flush the fuel lines from the firewall back through the pump and valve plumbing to exit each wing fuel line in turn. I removed the cowling and made up temporary aluminum lines with elbows to direct the waste fuel into a five gallon bucket. I also routed the wiring into the left wing as well as the red and blue tubes for the pitot and AOA (angle of attack indicator). Dave Pohl suppled some 100LL fuel and we tried to pour fuel from the firewall fuel hose aft, but it just filled up the firewall fuel hose and began overflowing; it wouldn't drain through the pump and plumbing and out the temporary tubes. On a hunch, I took off the right temporary fuel line, inverted the left one so it was pointing upwards and gently blew compressed air gently through the plumbing with the fuel valve switched to the left tank. The air went through the plumbing and exited the firewall fuel hose, blowing some remaining fuel into the bucket. Fuel was carefully poured into the inverted temporary fuel line and although it overflowed at first, some light air pressure pushed it through the system and out of the firewall fuel hose. This procedure was done through both sides with success. I'm hoping that this treatment was enough to remove the preservative from the fuel pump. Further tests will be done after the fuel tanks are calibrated and before the engine is run. (NOTE: the compressor tank was pressurized and the compressor shut off during these tests. We had fire extinguishers nearby and no electrical circuits running anywhere near the dump bucket during these tests; the proximity of the air compressor in the photos is misleading.)


I experimented with lighting the cockpit for the wing installation and checked clearances around the required bolt holes to make sure I wouldn't be foiled by wiring or plumbing getting in the way. The fuel valve and plumbing would make the left side harder than the right, but it was all manageable. All the temporary pins, washers and nuts were gathered; the close tolerance bolts were placed in the freezer a few days in advance. A plan was set in place for helpers to arrive at the hangar at 9:00 a.m. on Tuesday August 31. The preceding day was spent figuring out a reversible paint rack hanging system for the ailerons comprised of long bolts, PVC tape, 12 gauge wire and steel dowels cut and bent to shape.


Tuesday was a beautiful day to work in an open hangar; sunny and warm with no wind. I arrived early to set up the Garmin Virb video camera for time lapse recording and to make sure I was ready to go when my helpers arrived. It's a good thing I arrived early. I had planned to have the rivet gun set up to tap in the close tolerance bolts if necessary, but I had forgotten that the rivet gun uses an adaptive hose to connect to standard air lines, and I had left that hose home. Fortunately I was able to pick it up and get back to the airport just as Harry Manvel arrived a few minutes early. Dave Pohl showed up shortly afterward; Bob Sultzbach had a long commute to get to PTK from Ann Arbor, but he arrived by 9:30. We got right to work, starting with the left wing. It was quite a different process from the first wing fitting; that was done before the gear was on and it was easy to lean into the cockpit while standing outside. This time I had to be inside the cockpit on my hands and knees trying to figure out how to see if the holes were aligned enough to get the temporary pins inserted. After some struggling on my part, Dave asked if I had an inspection mirror handy. D'oh! It went a lot smoother after that, and the right wing took half the time to pin. Harry and Dave stuck around for a little while to make sure their help was no longer required before they departed. Bob stuck around for another half hour to help pass the frozen close tolerance bolts to me as I drove them in with a mallet and the rivet gun. It went quite smoothly and Bob and I had lunch before he departed and I got back to work. The next five hours were grueling, to say the least. One issue that cropped up during bolt insertion was that the threads of two lower bolts had caught the very last thin layer of aluminum sheet on the back side of the spar box and pulled it away from the other layers, and it just had to be behind and below the fuel plumbing, so access prevented just tapping it back into place. I knew that the nut and washer would push it back into place, but trying to get all the washers and nuts on in that location was a nightmare and the tweaked aluminum made it worse. It took a LOT of fiddling and torturing my knees and forearms in that cramped cockpit with awkward access trying to figure out how to get all twenty bolts torqued. Having to climb in and out many times to stretch out cramps or gather different tools to get a combination that would work for that particular bolt... wishing I had three hands and having to position a towel to catch the sweat pouring off my head... it was a bitch, but I didn't give up until they were all done. And when they were done, I shouted out a "YES!!!" that could be heard three rows away. The job was done: the wings were on to stay! I crawled out of the cockpit, down the ladder with blistered, battered knees and bruises all over my forearms and limped across the ramp over to Bob's hangar to share the moment. Bob and his crew had also achieved a milestone that afternoon, starting and running their Cessna's engine for the first time after a year-long rebuild process. We celebrated together for a few minutes as the sun set before wearily climbing into our cars and heading home. The next morning I stopped by the hangar to tidy up, loosely fit the vent link tubes, attach the aileron pushrods and refit a fuel line grommet that had been pushed out of place during wing fitting. That afternoon I put together the finished video; it's 4:31 long and includes wing fitting, bolt fitting and final shots. Here's the link:
RV-8 Wing Fitting


(The photo above is another milestone: the 6000th photo of the RV-8 build)


Time to get paint on the ailerons. This went pretty quickly; from scuffing to basecoats in one day. I let the basecoats cure for a day before applying the clearcoat. I may have rushed the primer cure a bit; I noticed a small patch on one aileron where the basecoat felt rough and had a fine cracked appearance. I sanded it lightly and the clearcoat went on smooth. It's barely visible and on the leading edge so it will stay mostly hidden.


The flaps were brought to the hangar for test fitting and the airframe was rolled further back into the hangar before final assembly of the wings continued. The bottom center fuselage skin was screwed to the bottom inboard edges of the wings. The fuel and vent lines were torqued and sealed. Terry Kohler helped attach the fuel tank brackets to the fuselage. The bolts holding the tank tabs to the brackets were torqued and safety wired (one safety wire was routed in the wrong direction and corrected). The fuel tank sender wires were shortened to an optimal length; new ring terminals were crimped on and connected to the sender. The roll servo cable was routed, secured and connected. The OAT probe cable was routed and secured; the optimal location was determined, a 5/16" mounting hole drilled and the probe installed. A zip tie tail was dropped into a wing bay during trimming; the borescope camera was used to help retrieve it.


(The photo above is another milestone: the 6000th photo of the RV-8 build)


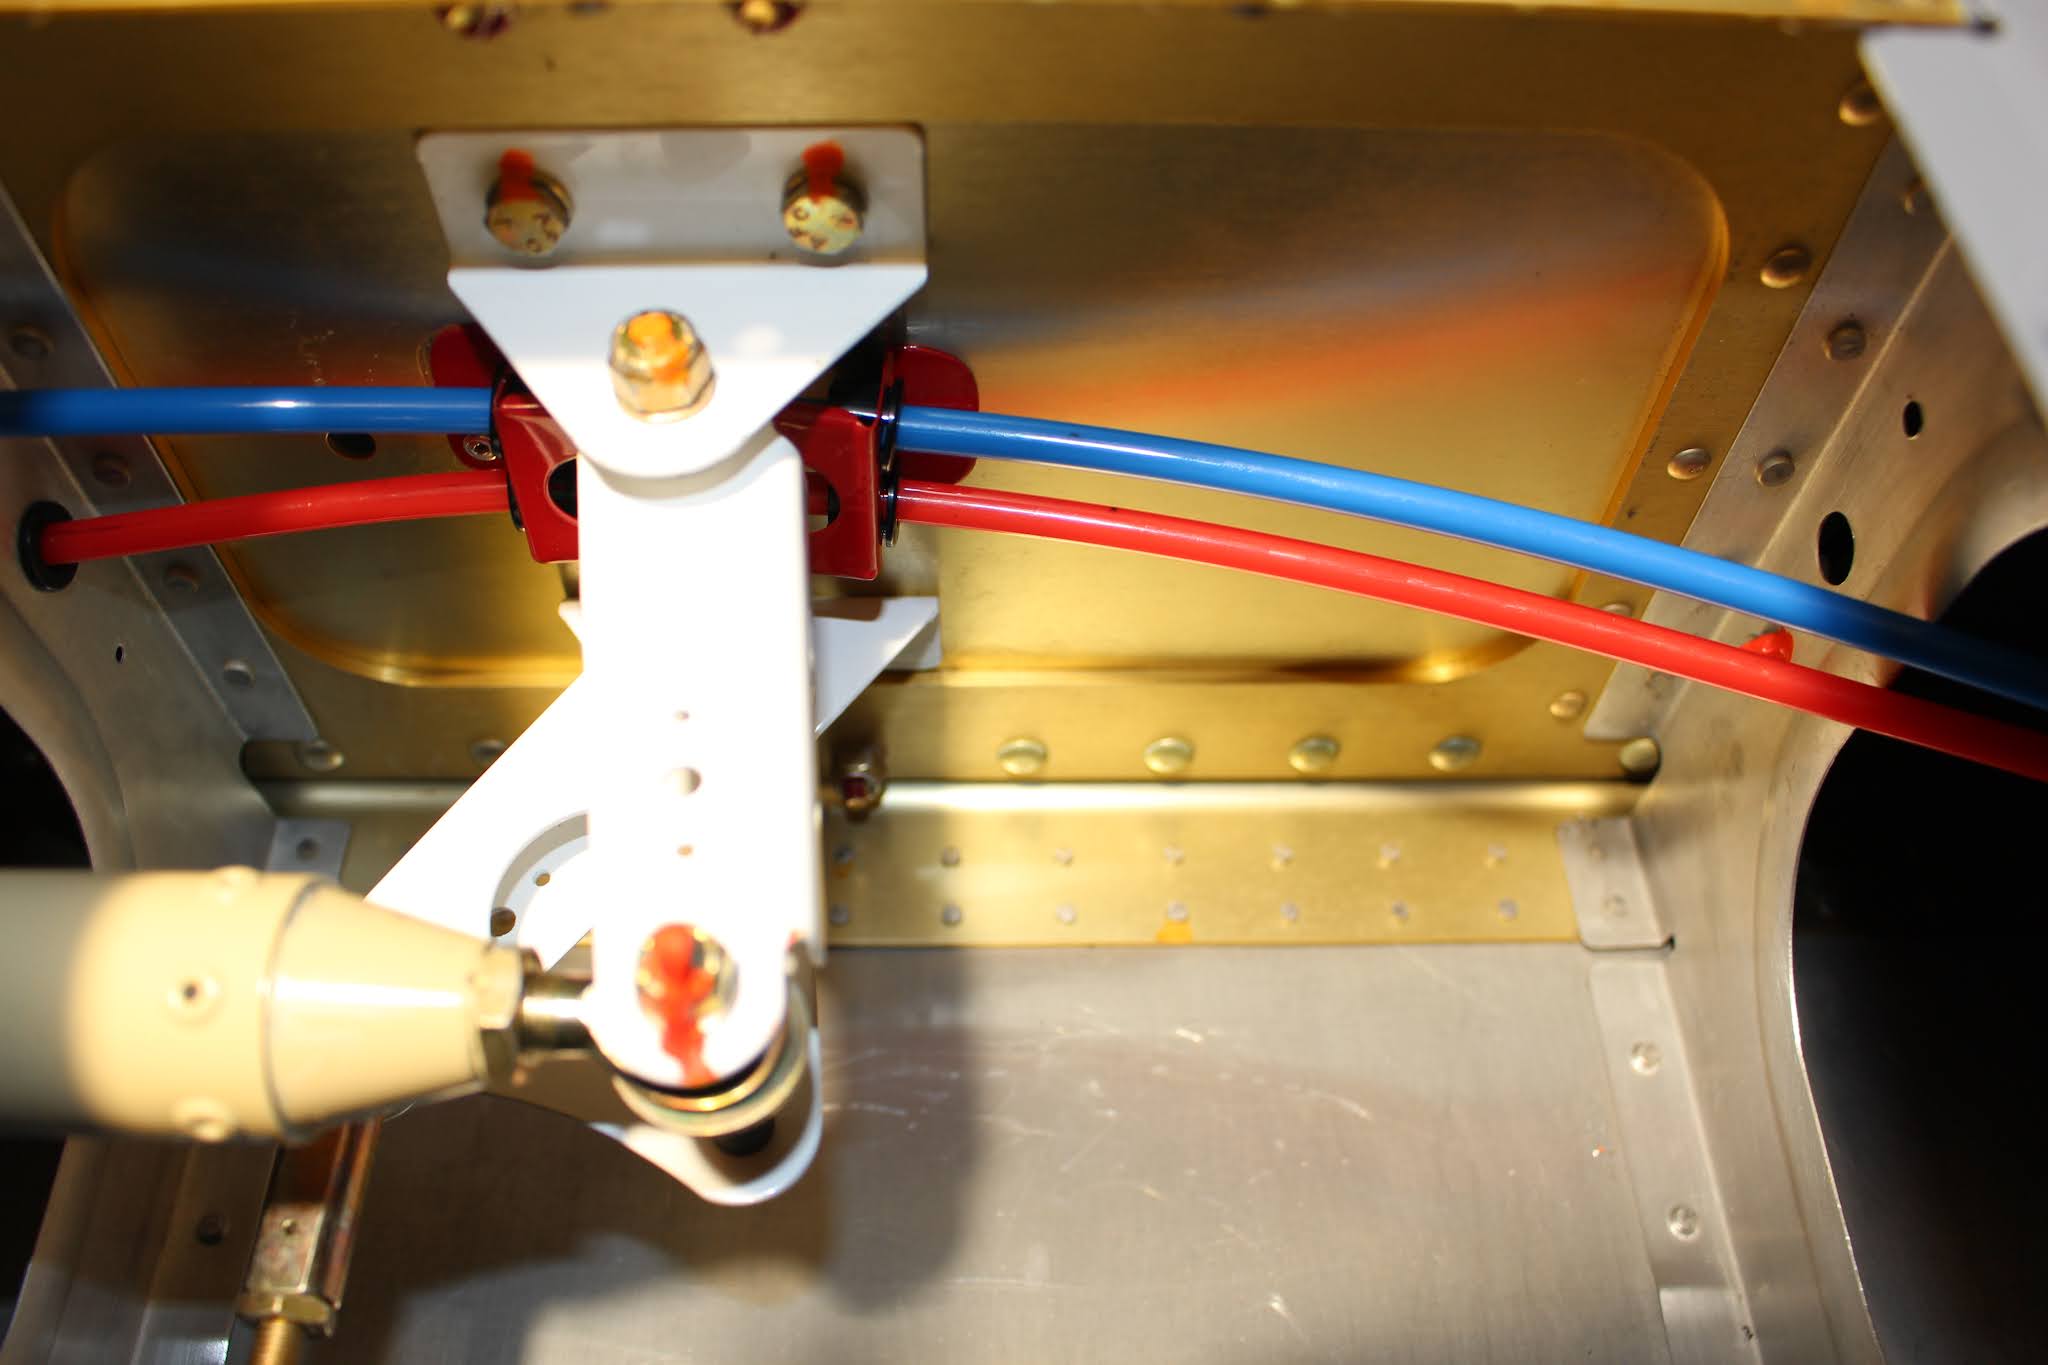
Running and securing the roll servo cable, OAT cable and pitot tubes were literally a pain, but I learned from the experience. I learned how far I could reach into a wing from an inspection port. I learned how to route a zip tie around a rib web, get the cable between the ends and cinch the zip tie with one hand, by feel only. I learned how many rib lightening hole edge marks I could make on my right forearm without breaking the skin. I learned how important it is to not slip off the creeper when you're elbow deep into the wing. I learned new ways to curse. And I learned how to not give up. The lessons continued with the installation of the pitot/AOA probe. I'd been dreading this ever since I decided where I would position it, one bay over from the last outboard inspection port. In actuality, it wasn't as bad as I thought it would be. Reaching the pitot heat lead wire from the conduit turned out to be easy. My gap in the conduit worked perfectly; the wire dropped down within reach but I had to pull in the rest of the wires a little bit and snip off a bundling section of heat shrink tube to put both the pitot heat wire and the rest of the wires in ideal position. The wire was cut to the proper length and a female blade terminal crimped in place on the stripped end. Securing the probe to the mast was easy but I had to make sure that the flare fittings on the pitot and AOA tubes stayed up where I could reach them, so I wrapped temporary tape around the tubes to prevent the fittings from sliding down. Tightening the flared elbow adapters turned out to be much easier than anticipated and the red and blue pitot and AOA tubes were a lot longer than needed, making it easy to trim them to the perfect length and connect them to the adapter elbows. Connecting the ground wire was an awkward reach for two hands and had to be done blind. The pitot heat lead wire was easy to connect, but when I reviewed my documentation photos afterward I saw that I had forgotten about the grommet that I put in the pitot mast brace to secure the wire slack. I had to go back, cut off the blade terminal, feed the lead wire through the grommet, strip the wire and crimp on a new blade terminal. Fortunately that was easy... then, reviewing the photos of the fix, I noticed that the ground wire was barely connected at all; it hadn't been visible in any of the previous photos. So I went back and connected it properly. Taking all these photos does have tangible and valuable benefits.


Now that some of the painful work was done, I was able to do some fun stuff. The wing walk area was thoroughly cleaned with alcohol and the Van's nonskid wing walk material was applied to each wing. Working with the logo cutouts was fiddly; I lost one of the angled bits that fills the circle in the capital R and had to cut out a substitute from the sections of removed lettering. The experience I've gained by working with the vinyl masks made the wing walk material easy to put down. The finished ailerons were brought to the hangar and hung on the wings. The aileron pushrods were attached and all nuts were torqued and sealed.


When the first wing fitting took place in the shop I made a mental note that the inner bottom skin of the flaps would need some work before painting and final assembly. I unwrapped the flaps did a brief test fit of the right flap to reacquaint myself for the process, then removed it. The next day I hung both flaps, taped them in the fully up position with PVC tape and examined the fit. Much to my relief, no further trimming was required. The bottom skin edges needed some massaging to conform more closely to the fuselage skins and on each flap I wanted to rivet the bottom skins together at the innermost point where they overlap. The skins are layered in such a way that the aftmost skin lays on top of the next forward skin, which is opposite of the ideal. If the leading edge of the aft skin doesn't hug the forward skin, the gap will catch the oncoming airflow. Placing one last rivet in the skin will keep them together and the airflow smooth.


Before reinstalling my floors I needed to connect the scat tube to the aft seat vent and also examine the aileron trim mechanism. It's always seemed a bit wonky and lately I could tell it was not operating properly. As suspected, the upper end of the actuation cable was slipping in the Adel clamp. I had anticipated such issues and had wrapped electrical tape around the end to try and give the clamp more gripping strength. But the electrical tape glue was not up to the task and eventually turned into gooey sticky slime that had no adhesive strength at all. I disassembled the mechanism and attempted to make some shim material from aluminum but that didn't want to grip the aluminum either. I reassembled the mechanism with a fresh Adel clamp and no shim but it will probably be ineffective. I had been thinking about removing the trim springs anyway because I wanted to feel the controls with no additional spring loading during Phase 1 testing. The springs were removed and if necessary I will placard the aileron control lever INOP.


That brings us to today... or rather, that brings us to yesterday. I was within a few minutes of completing this post last night when I realized I hadn't made the latest KitLog entry. I was working on photo processing as a thunderstorm was passing through and suddenly we lost power. It's now midday and the house still doesn't have power so I'm finishing this blog in one of the Crosswinds Aviation briefing rooms at PTK:

In other news, I've gotten more time in the DCT Decathlon and I hope to visit Canada next week for more Chipmunk time. The Canadian Historical Aircraft Association has changed it's name to the Canadian Aviation Museum and they're having their annual general meeting next week. The border is now open for vaccinated Americans with a recent clear COVID test and I'm looking forward to meeting up with the gang for the first time in years and getting more flying done.
Also some hope on the engine situation. I was informed on September 2 that Superior finally submitted the AMOC to the FAA in person and approval should come quickly. Barrett has already disassembled my engine and found it to be in excellent shape, so I'm hoping to have it back by late October or early November; we'll see.
So Stay Tuned... and in the meantime I'm gonna pack this gear up, head to the hangar, connect that scat tube and start putting in the floor. There's no point in going home...