Thursday, December 29, 2016

2016 Year-End Update: Paint Supplies, Practice Piece and Fiberglass Work

     I will have to start out by making some corrections to my November post.  First of all, the Florida trip was not our final trip in 2016.  We decided to go to Indianapolis again for Christmas Day, followed by a visit to Fort Wayne the following day.  Another great trip, to be sure... and a great way to cap off a truly wonderful year of travel.
    Also, it turns out that I'm still waiting on my quickbuild kits.  I did manage to make shipping arrangements with Tony Partain of Partain Trading Company; they specialize in hauling Van's quickbuild kits, as well as airframes for other manufacturers.  I didn't expect to be able to utilize Tony's services, but apparently his operation is much larger than I anticipated.  After checking with Van's Aircraft, he said he'd have no trouble getting my kits into his January delivery schedule.  That was the good news.  The bad news came when I followed up with my own call to Van's Aircraft to confirm my shipping arrangements.  I learned that apparently my wings and fuselage would not be part of the same shipment from the Philippines.  There was some initial confusion, but the way I understand it at this point is that the fuselage would be shipped after the wings.  I know one of them is on the water now... but I'm still not sure whether the wings have already arrived and the fuselage is enroute, or that the wings are enroute and the fuselage will ship in January.  As of today, I have received no further word... so I can only hope that both shipments make it to Van's in time to allow for an inspection and shipping by Partain Trading Company during their January schedule.  I guess I'll find out next month.
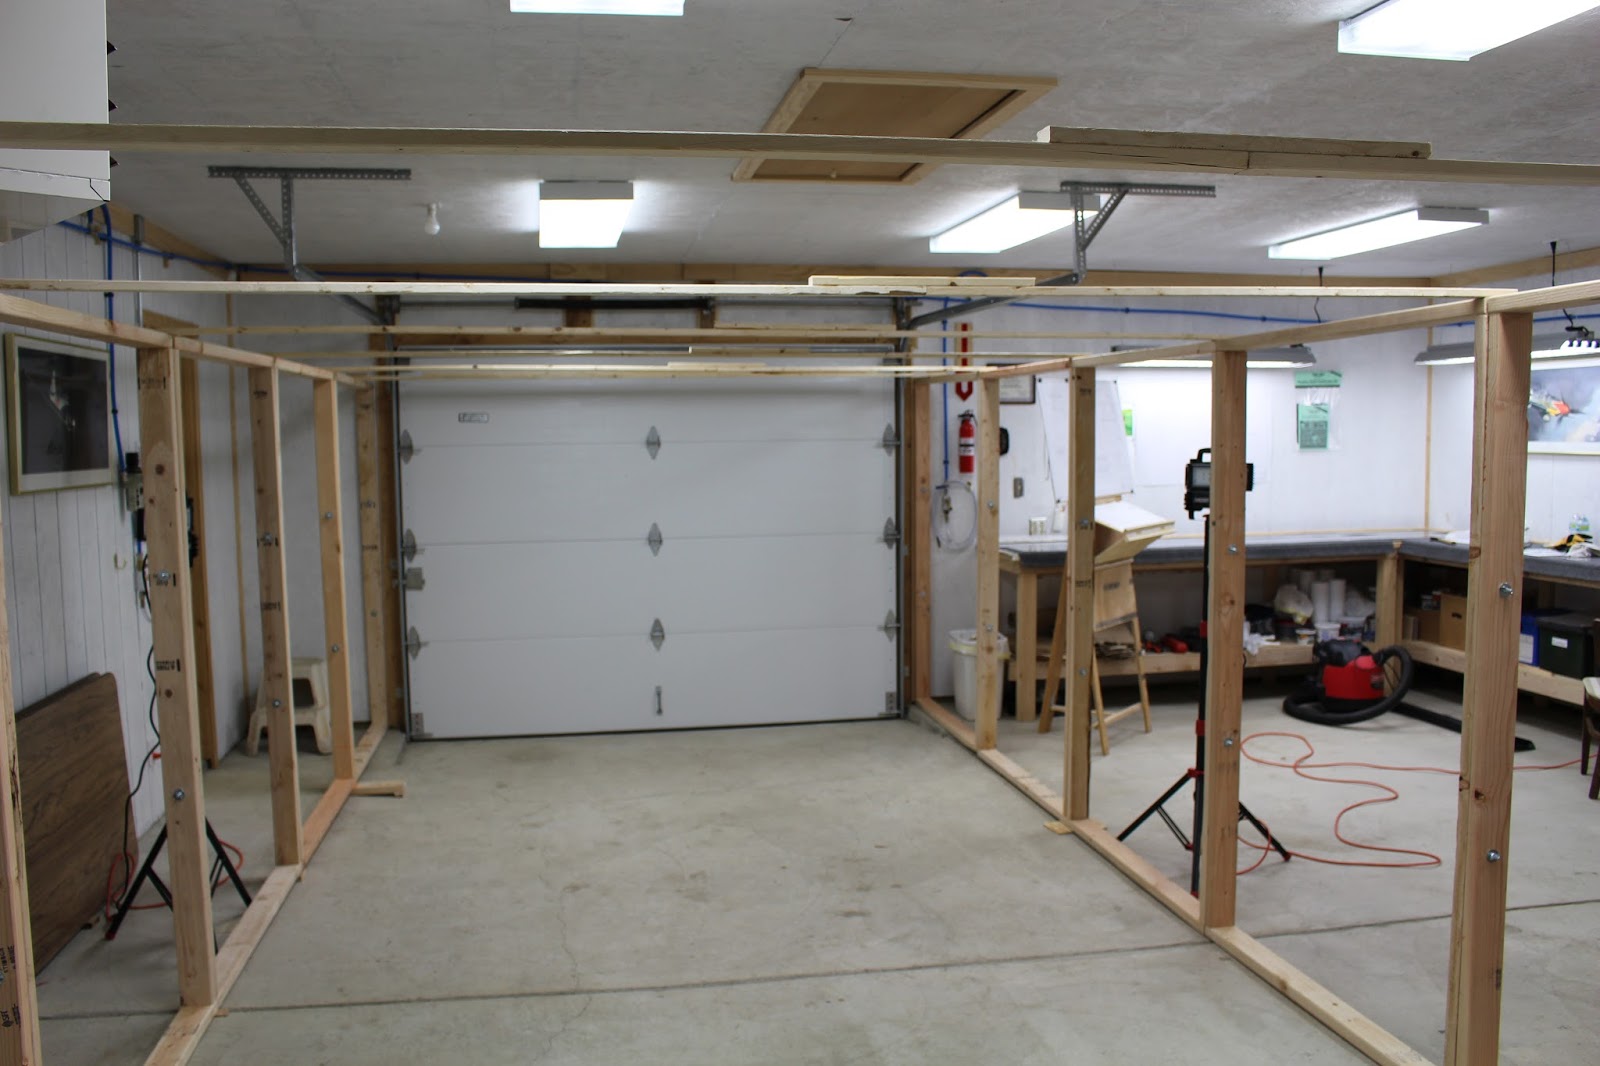
     In the meantime, I made some decisions and placed my paint order with Blend Supply.  I found out that I would be able to order my custom Skyscapes GA colors in smaller quart batches, and the other relative quantities of material would be unchanged, so I made a leap of faith and placed my paint order.  At first it looked like my delivery would arrive before our trip, but it was delayed by a holiday closure of our local FedEx depot.  The revised delivery day and time ended up working out well for us; we got back from our road trip in time to accept the shipment.  I was surprised at how small the shipment looked on the pallet, considering the expense... but it was all there, except for one back-ordered gallon of primer reducer that I knew about in advance.  I went ahead and got some additional shelving and a dedicated mixing table from Home Depot for the painting supples, and set it all up in the shop.
     Now at least I have the material to do the training projects I have planned.  I'm hoping I can manage it during the winter... but I'll have to see how that works out.
     I had brought the tail feathers back into the main shop when I realized it might be awhile before the big parts got here; I figured I might as well start some of the fiberglass work on the empennage while I was waiting.  Although I have had some training on fiberglass work, I was still intimidated by the thought of just jumping into the process with so little practical experience.  I decided to make up my own practice piece, based on my Synergy Air training project but with some differences... I literally wanted to throw myself some curves.  So I made up a jig from wood scraps, bought some cheap plexiglass, grabbed some of my practice aluminum sheet and made up a miniature cowling and windshield.
     I did a lot of research into shaping plexiglass, but didn't want to put our kitchen oven at risk.  So I just bent the cut sheet into the jig and gradually heated it with a heat gun until it started to hold the curve.  I was able to clamp and tape it into shape before using epoxy to glue it to the roughed up aluminum.  It was a messy process; the glue was a very gooey consistency that was hard to work with, but I managed.  I also learned why you don't try to run a bead on the inside... but that's what practice pieces are for.  It set up well, and I cleaned it up a bit.  I had to order the PVC pipe tape that I'll use for masking for this project and for my canopy glasswork.  I also got some tooling that will make that work easier.
   I started out by setting up the vertical stabilizer and rudder on the lower jig table, and began working on the top caps.  I fabricated the back plug for the vertical stabilizer cap, and refined the fit of the top rudder cap.  Since the prefab caps aren't exactly precision pieces, I had questions about how to achieve a better fit.  My friend and fellow builder Leo came by and gave me some words of encouragement, and after drilling pilot holes and clecoing the pieces in place, I began to realize this would probably come together fairly well.
     From there I shifted to the elevator tips.  My strategy was to do the easy work first.
     I decided to fit the rudder bottom next.  This was a tricky piece to start.  I had to do my own layout on the mounting holes, and since I want it to be removable, I had to order platenuts and screws for the aluminum mounting tab.  It also involved cutting a notch on either side to fit around the rudder horns, and they are angled differently from the bottom of the fiberglass cap.  To complicate things more, the bottom of the rudder is angled as well.  I pondered many different ways of laying out these notches and chose to have the notches at a right angle to the open top edges, and calculated the angle required to fit around the horns.  I did the cutting in stages, and when I was done, the fit was good... but I realized that to optimize the mounting, I should have had the notch run at a right angle to the crosscut, and angled in relation to the open top edge.  Hopefully the pictures will do a better job of explaining this situation.  I will probably rectify this with some patchwork and recutting.  It shouldn't be a problem, and it's one key advantage to working with fiberglass: repair work is fairly easy.
     I had to remove the elevators to begin the fitment of the horizontal stabilizer caps.  These had a lot of excess material that needed to be cut off before initial fitting could begin.  I knew early on that these would be a bit more difficult to fit because the curve of the premolded tips didn't match the curve of the leading edges of the horizontal stabilizer skins very closely.  I decided to use my plug material to make a forming insert for each tip that would help shape the parts to nest in with the sheet metal more closely.  Then I fabricated the end plugs for the tips.
     So that wraps it up for 2016.  It's been an absolutely great year... just as great as I hoped it would be.  It is a bummer that the quickbuild kits aren't here yet, but they will be soon.  Next year will be the Year in the Shop.  The only trips I have planned are AirVenture (maybe) and picking up my engine in Tulsa.  Full speed ahead... with careful care.


Saturday, November 19, 2016

Painting Blues, Booth Bothers, and Legs Arrive!

     We took our last trip of the year in November to Florida and Georgia in the pickup truck with the motorcycle trailer in tow.  Upon our return, I waded back into paint selection, which had become a morass.  After having some time wasted by one distributor, I contacted another distributor who responded quickly and accurately... with some bad news.  During the Training Program I was convinced that Sherwin-Williams Skyscapes GA was the best material to use for my project, but got conflicting opinions whether I could get a flat clearcoat.  The distributor told me I couldn't get a flat finish in Skyscapes GA, and suggested I use the military lusterless coatings.  Those coatings have different properties which require different application methods that I never discussed in training.  After considerable back and forth discussions with the reps and the distributor, I am beginning to resign myself to having an airplane with a high-gloss finish... but I'm still rather conflicted about it.  My paint scheme will require at least seven different custom-blended colors that will only be available in gallon quantities; I won't be able to get small batches and experiment.  As a result, the price for all the paint supplies - wash primer, urethane primer, 7 basecoat colors, clearcoat, 3 different hardeners, 4 different reducers, blending solvent, cleaning solvent, wiping solvent and MEK for cleanup - add up to some very high numbers.  I knew painting would be expensive... but it's daunting to spend so much money without knowing for certain I will be happy with the results.  I'm going to have to make a decision soon in order to get some testing done before the big kits arrive.  I contacted Vans after my return from Florida about an estimated ship date; they anticipate that the kits won't arrive in Oregon until mid-December at the earliest.
     I have continued to work on the paint booth, and found some more devils in the details.  I was trying to decide if I needed additional filtered air intake ports, and investigated putting some additional filters into the door that leads to the loft staircase.  But the hollow-core door created a new set of complications, and sourcing a solid-core flat interior door that would match the existing door frame was problematic at best.  I didn't want to use a filter plug in that opening as I had for the other door because I wanted to use the loft door as my point of entry for the booth.  Eventually I decided to leave things as they are, and if I need additional airflow, I will add more filter ports later.  I also added some visqueen support rails to my main shop ceiling by the fresh air side of the booth area.  The elevation of the loft door will make the visqueen enclosure on that end somewhat complicated, with different ceiling heights and additional angles.
     Another issue that came up was that despite the filters in front of the fans, I've been told by experts that I should anticipate some paint particles to be in my exhaust air, and those particles can travel significant distances and settle on the side of my garage... or worse, on my neighbor's house or cars.  To reduce that possibility, I designed exhaust tunnels that will have additional filters in the ends to mitigate such problems, and did some initial test fitting.  The sides of the ducts are OSB sheet and they will be covered with visqueen to complete the enclosure.

     As it turns out, I did not build all the visqueen enclosures at this point.  It seemed wasteful if I wasn't going to do any paint testing and I'm not quite in the position to do that.  But at least now I know what I have to do to build and enclose my booth.  The day after these pictures were taken, the weather turned and Michigan is now wintry.  I don't know when I'll be actually building and using this booth... but at this point at least I feel like I'm ready and I know what to do.
   On the plus side, I received my Grove Aircraft RV-8 airfoil landing gear legs.  They arrived as scheduled; well crated and in flawless condition.  At this point, I can do nothing with them at all, but at least I have them in my possession.
     That's the current update.  I'm doing my best to not be discouraged by the time setbacks, and I'm hoping to have some really big news to post next month.

Tuesday, October 18, 2016

Heat, Clean, Shift and Build!

     At the end of last month I had a shop heater installed.  It appears to be a standard ceiling-mount space heater, but the flue pipe is actually surrounded by an intake pipe, so the burner tubes can draw air from the outside, making it much less likely to ignite any combustible fumes in the room.  My paint booth should have very good ventilation, and the heater will be outside the confines of the booth... but I will still make sure the heater and any other ignition sources are off before any painting is done.
     I want to make sure I have the optimal amount of space ready for unpacking the big quickbuild crates when they get here, so I started out by cleaning out the shed section of the garage to make space for the paint booth frames I had just fabricated.
     The next step was to move the Toyota wagon into a vehicle storage unit at the local storage yard.  I was fortunate to get the very last one they had available.  The motorcycle will be stored inside its trailer during the winter, so that will also be out of the way.  I made space for the lawn tractor in the main house garage, and I put the gardening trailer up on blocks in the back yard and covered it with a tarp.  Then it was time to go through all the miscellaneous house stuff on shelves and move most of it up to the loft to free up shelf space for parts.  Now I've got the room I'll need to make unpacking much easier, and the woodworking tools are right by one of the garage doors for quick access, since I prefer to cut wood outside to keep the garage cleaner.
     One valuable lesson I learned from the Sherwin-Williams Training Course is that I needed to rethink the air flow in my booth design.  I originally thought I could draw air from the gap in the top of the main shop garage door created when the fans are in place.  But I realized I would probably end up drawing in fumes that had just been expelled by the fans below.  So my incoming air should be coming from the opposite side of the building.  That can be easily done by using the entry door to the shed as my input air source, as it is directly across from the garage door/exhaust fans.  I considered cutting out the sculpted panels of the door itself and covering the openings with filters, and augmenting the flow with additional filtered ports in the wall and adjacent loft door.  I also considered mounting a separate screen door to the outside of the main door frame, but rejected that idea because it wouldn't filter the air well enough.  After examining the door frame, I realized how easy it would be to build a plug wall with large filtered ports that would fit into the door frame notch.  So I got some plywood, trim moulding and filters and got to work.  It took some figuring, but I'm happy with the result.  It installs easily, fits well and should flow more air than the exhaust fans will pull... and best of all, the original door is still intact.
     My initial test-fit of the paint booth frame sections showed me that things would get pretty tight in the main shop unless I rearranged things, so I decided to move the wing stand and empennage stand to one of the garage bays.  Since the man-doors are too narrow to accommodate either stand, this meant taking them outside through the main shop garage door and around to the other side of the building.  The wing stand already had large casters that could roll on the lawn outside, but the empennage casters were way to small to handle that transition.  I really didn't want to go through the hassle of disassembling and dismounting the whole empennage if I could avoid it.  So I improved the main undercarriage by mounting a separate axle onto the base of the stand that would accommodate wheelbarrow tires.  The wheels are held on by bolts that fit nicely into the axle tube fabricated by black pipe sections.  It came together fast and worked like a charm.  For the first time since birth, the empennage left the nest!
     Back to the paint booth.  I did another preassembly on the paint booth components, adding bracketry and fabricated ceiling slats.  It's shaping up rather well.  The interior dimensions are about 24' x 10.5', and I think I can make that work for me.  Since it's modular, it will be easy to expand if necessary.  I also tried out my new portable LED shop light stands.  I've been told that you can't have too much light in a paint booth.  Time will tell if this will be adequate.
     Next is a full fitting of clear visqueen with the fans and garage door gap seal in place.  I got some sheet aluminum cut to fit the gap; I've got to figure out how I'll secure it so that it's fairly air-tight.  Then it will be time for airflow testing.  I got a new DeVilbiss paint gun with accessories, and I've also contacted the closest Sherwin-Williams rep and discussed what paint colors and other supplies I'll need.  When I'm geared up and ready to shoot, I'll start out by using the gap sheet as a practice piece, painting it in the aircraft colors of olive drab and neutral gray, with a mid-1943 Stars & Bars painted in the center.  More to follow...