It's been a long time since the last update, which means this one should be long and hard to write. Life has dealt us a LOT of chaos lately; as a result, a significant portion of my time is no longer my own. That means I really don't have a couple of days to devote to this blog, so I'm going to have to abridge this just to get it done. One thing that makes it easier to summarize is that almost all of the work done in the past three months has been on the canopy and windscreen. Other builders have said that the canopy, windscreen and skirts were the hardest parts of the build and I tend to agree. But the main body of that work has been completed, so let's review.
The year began with the canopy attached to the frame with adhesive; work proceeded on fitting and finishing the skirt. The canopy frame support jig was modified into a bespoke stand that didn't utilize sawhorses. This allowed me to work on the inside of the suspended canopy. The inside of the skirt was finished off with felt and tan paint and the skirts were blind riveted to the frame. The canopy rail notch was fabricated. The windscreen mounting process was begun with screws along the support hoop and and adhesive around the perimeter. That work continued with fabricating the fiberglass molding around the perimeter of the windscreen. Lots of layers, sanding, layers, sanding, filling, sanding, filling, sanding etc. and eventually the first spray of black primer on the windscreen molding


I borrowed a pair of hydraulic wing jack stands from Harry Manvel elevated the fuselage and leveled it in order to begin working on the wheel fairings. The fit of the halves were refined and a laser level was used to establish a fuselage center line on the floor. Center lines were also determined for each wheel fairing. The wheel openings were initially cut to minimum size and later enlarged; notches were cut in the parts for clearance around the gear legs. The alignment of each was established and pilot holes drilled for mounting. The aft halves required some filling between the fairings and the U-808 mounting brackets. The forward halves required spacer pads to be molded in the area where the fairing would rest on the mounting bracket. The holes were enlarged to their final size and countersunk to accommodate the Tinnerman washers used under the mounting screws.


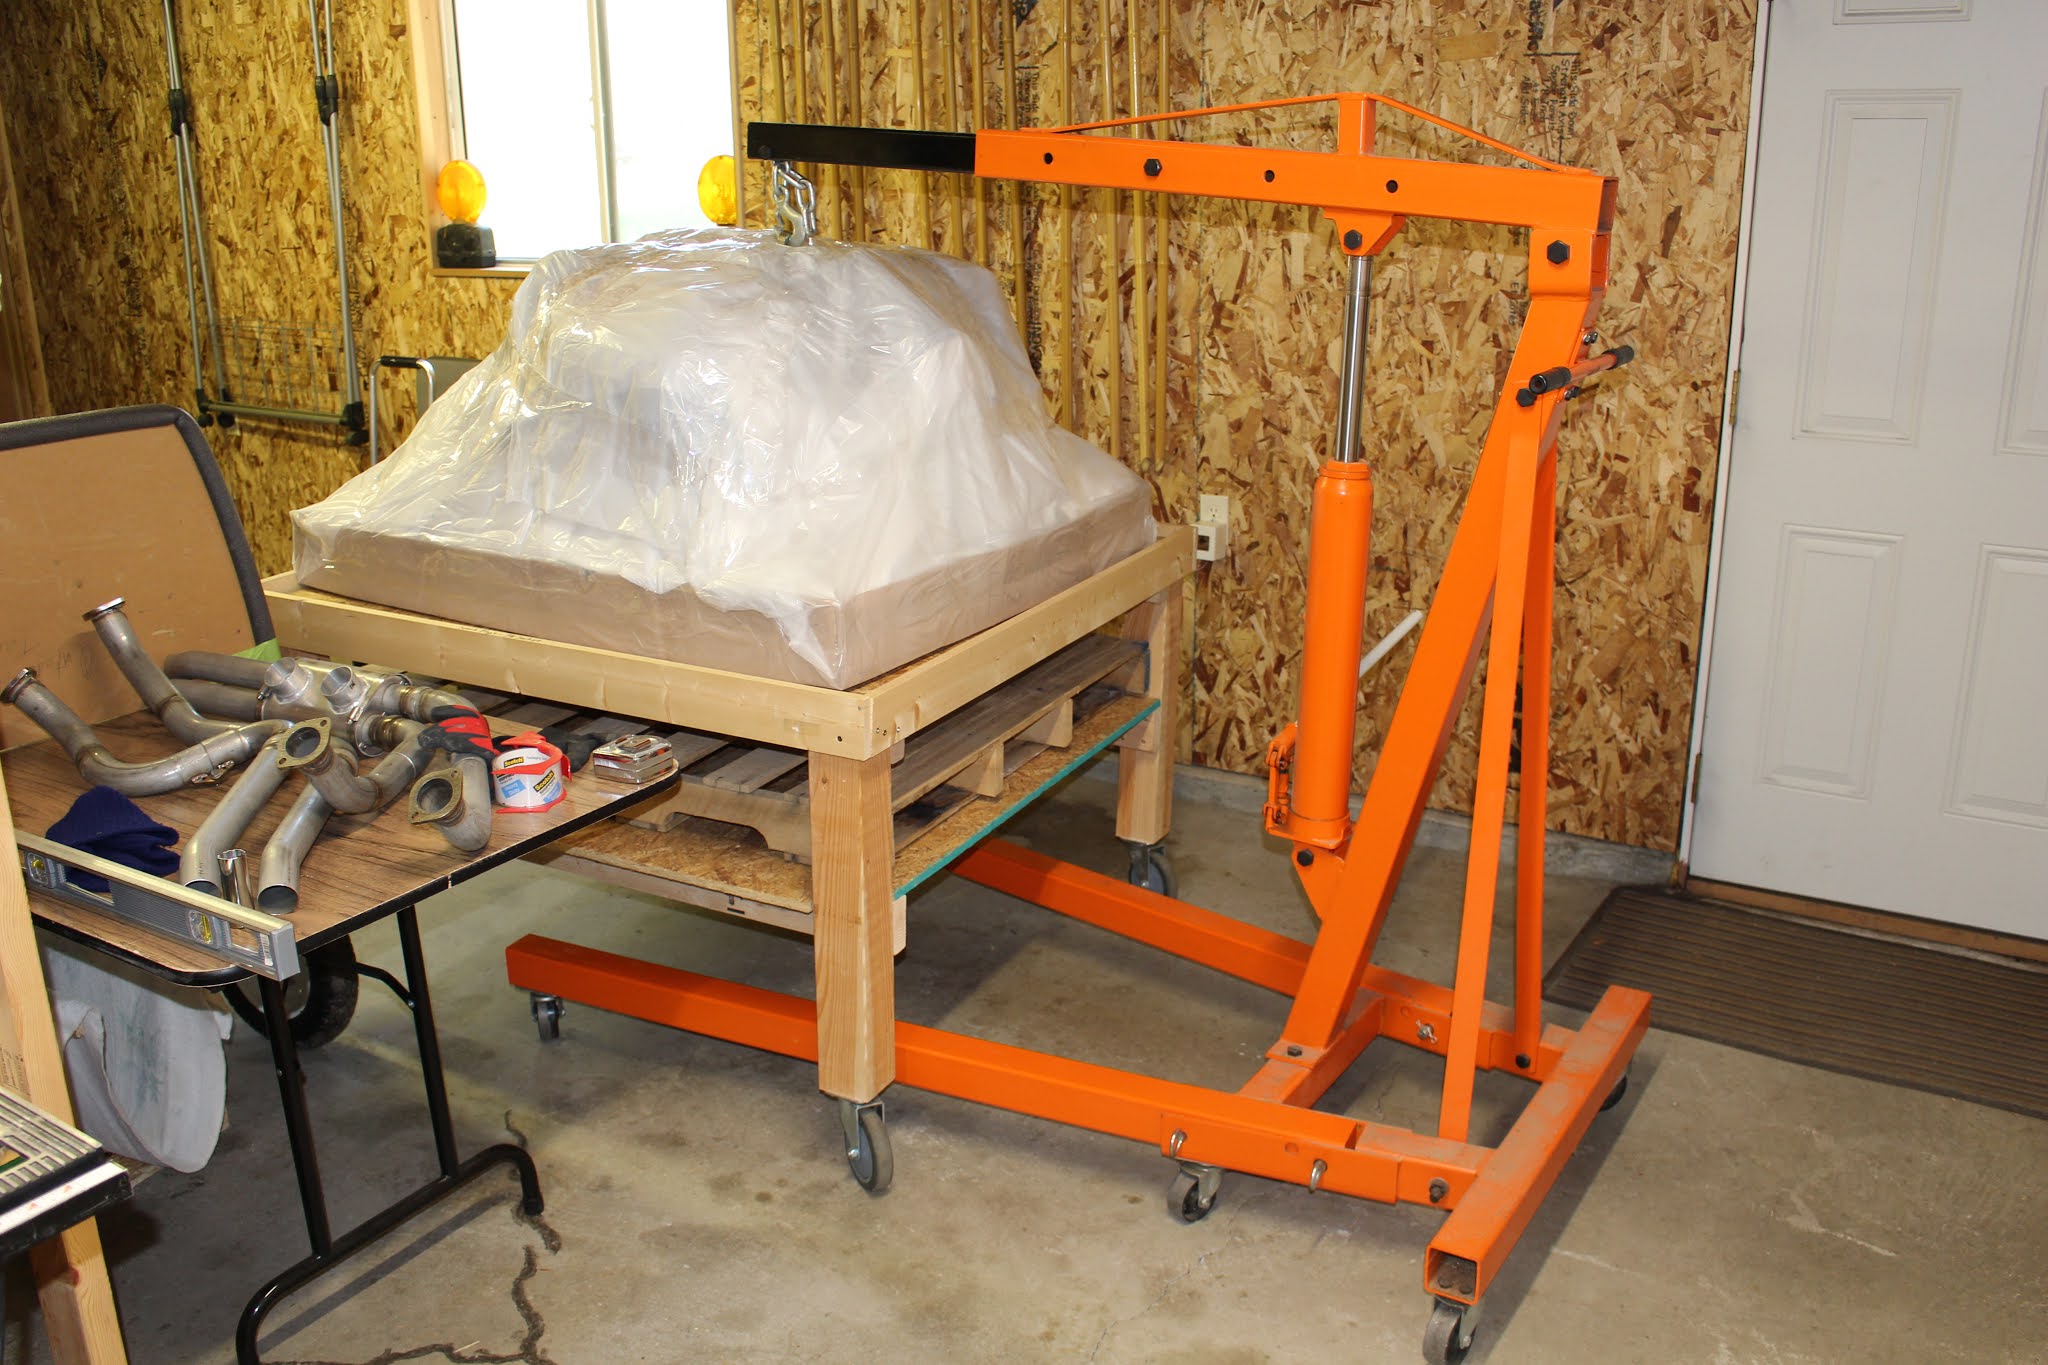
After the engine was removed in December, it sat in the main shop until March. An early thaw allowed me to move it from the shop side to the garage side in preparation for transport. I thought about shipping it back to Barrett Precision Engines but I only had the partial packing crate that we had used when I had originally brought it home. That would be completely inadequate for shipping, so I planned to deliver it myself. My rusty old GMC Yukon (which I called the Pukon because of the state of the interior when I bought it) wouldn't be reliable enough to make the journey to Tulsa. I pondered the pros and cons between renting a van to haul it and just replacing the Pukon, which had become an intolerable money pit. The Pukon closed the debate for me by breaking once too often. I sold it as a non-runner and replaced it with a much nicer Ford Explorer. We really couldn't afford any of this, but we'd just have to find a way to get it all done. I built a wooden platform for the cargo area that would hold the engine securely during the trip. Eventually I was able to plan a window of opportunity and good weather to make the journey. The day before departure I loaded up the engine, prepped the car and packed for the long road trip. I left on Wednesday, April 14; the first leg of the trip took me from Clarkston, MI to Rolla, MO in about ten hours. Early Thursday morning I drove four more hours to arrive at Barrett at 10:30. I said hello to Rhonda Barrett-Bewley and was pleasantly surprised to see Allen there. Not long after completing my engine, Allen had retired from BPE to battle lung cancer with some success; the cancer is being currently held at bay and he's hanging in there. We had become good friends during the original build and had stayed in touch via text over the past three years. I wasn't sure I would get the chance to visit with him during this trip and was glad he happened to be at the shop when I arrived. Allen's brother Monty had taken his place at the shop; he helped me offload the engine and place it in storage. Monty, Rhonda and I discussed a plan of action for the rebuild. Then Monty, Allen and I went out to lunch at their favorite burger joint, Ron's Hamburgers and Chili. We talked airplanes, engines and music for a very enjoyable hour. I'm really glad we got that opportunity. After leaving the shop, I visited the Tulsa Air and Space Museum at the north side of the airport before making a beer run and checking into my hotel at the south side of the airport.


I had planned a few extra vacation days into this trip with Amy's blessing because I really needed it. My plan was to drive to Wichita on Friday, hang out there on Saturday and head back home Sunday. I knew it would rain on Friday; that was why I planned my trip around offloading the engine Thursday. Despite the rain, I took a leisurely trip to Wichita with some interesting unplanned detours. I was feeling pretty tired after checking into my hotel but I wanted to make the most of my trip. There was a large entertainment complex within walking distance that had an indoor go-kart track; I had to check that out. Turned out to be a rather embarrassing experience, but I didn't care; I had fun. Lots of good restaurants within walking distance, too; I ate very well during my stay. Saturday morning I got up early and joined my friends at the CAF Jaybird Wing for breakfast; afterward we went back to the hangar and hung out there for awhile. They had plans that day to pick up some Beech 18 parts from a collector and deliver them to the Kansas Aviation Museum. I had planned to visit the museum that day but there were a few things I wanted to do first. I visited the B-29 Doc's home at Eisenhower International Airport, expecting it to be out on tour, but I got another wonderful surprise: the museum was closed, but Doc was there, and would be departing within the hour! I got prepared and scouted locations to watch the takeoff, returning just after they had started the engines. I took photos and video of the engine warmup and taxi through the fence, then relocated to a prime spot to catch the takeoff, also captured with photos and video. From there I went to the Kansas Aviation Museum for a brief visit. Again, the timing was good; I was able to meet up with the CAF gang and help them offload the Beech 18 parts. From there, I headed northeast to the Stearman Field Bar and Grill in Benton, KS. I had planned to spend the afternoon there; sipping beer, eating dinner and taking photos of planes coming and going. But it was not to be. A bicycle rally was being held at the airport; the restaurant was packed and there was no aviation action going on, so I bailed.


Sunday was spent making the long drive home. I'm leaving a lot of details out of this account but if you want to see the whole trip in detail you can watch the video I made about the experience. It's a bit long (1 hour 43 minutes) and contains a lot of time lapse road time which may be boring to some, but I find it to be beautifully mesmerizing. Here's a link:
Barrettrip II Movie
Barrettrip II Movie
After my return I resumed work on the plane, beginning the installation of the lower intersection fairings. I had purchased an intersection fairing set from RVBits but I wasn't sure how well they would work with my Grove airfoil landing gear legs. The lower intersection fairings seem to fit pretty well. Just like any other fiberglass parts from a supplier, these parts need a lot of finishing work, but they make a pretty good starting point for builders that would rather not mold their own. There are several approaches to installing lower intersection fairings. Some builders mold them into the wheel fairings, splitting them vertically to allow the halves to separate. Some mold them to the gear legs and have them attach to the wheel fairings with screws. I chose the method used by most builders using the RVBits fairings by keeping them as one separate piece; attaching them to the wheel fairings and closing the aft edge with screws. I'm in the middle of working on these now; the attachment points have been set and most of the nut plates have been riveted in place. I had to order more nut plates and other hardware for this assembly. When all the nut plates are installed, a transition ridge will be molded into the wheel fairings to blend in the base of the intersection fairings.


When the lower intersection fairings are complete, the fuselage should be ready for paint. I spent some time with Mike at Quality Business Engraving, finalizing the design of the vinyl masking stencils I'll use for the various emblems and labels that will be part of the paint scheme. He also gave me a tutorial on how to apply the vinyl, which I captured with my cell phone. The bang flag will have to be airbrushed on by a qualified artist, but I will paint the rest of the graphics myself.


Soon it will be time to start masking the fuselage and erecting the paint booth. I've already moved more parts to the hangar for final assembly. I only hope that the chaos thrown into our lives will subside enough to allow me to keep working steadily. Financing for the engine rebuild should be in place next week; I'm planning for the engine to meet the painted fuselage at the hangar, with the wings following soon after. I will not be attending AirVenture this year because that money is earmarked for transition training with Bruce Bohannon in Texas once the airplane is assembled. Still hoping for a first flight this year... keeping my fingers crossed. Stay tuned... and maybe send some prayers this way. I may need them!