There was progress made in numerous areas this fall, albeit in a scattershot sequence. I was able to put financing in place for the rest of the project, and placed orders for my engine, prop, exhaust and the firewall forward kit. The engine was ordered from Barrett Precision Engines; it will be a Superior IO-360 with horizontal induction. The stock exhaust will not work with the Superior cold air induction layout, so a four-pipe RV-8 exhaust system was ordered from Vetterman. The RV200 prop was ordered from Whirl Wind Aviation. The finishing kit had already been ordered from Van's with the exhaust deleted and other items added, and I also ordered the firewall-forward kit. Now all major components have been purchased. Aerotronics completed and shipped the finished panel and avionics; it arrived at the end of September. The firewall-forward kit arrived mid-October; a few missing parts were noted during inventory and Van's sent them out quickly. The finish kit was crated this past week and is currently in transit. The exhaust is also enroute and scheduled for delivery today. The prop should be ready for delivery December 15; I'll be picking it up from Austinburg, OH. The engine is scheduled to be built in early January; I will drive to Tulsa, OK to watch the build and run-in, then bring the crated engine home. It's official: I'm committed; I'm all in; no going back now. This aircraft will be finished.
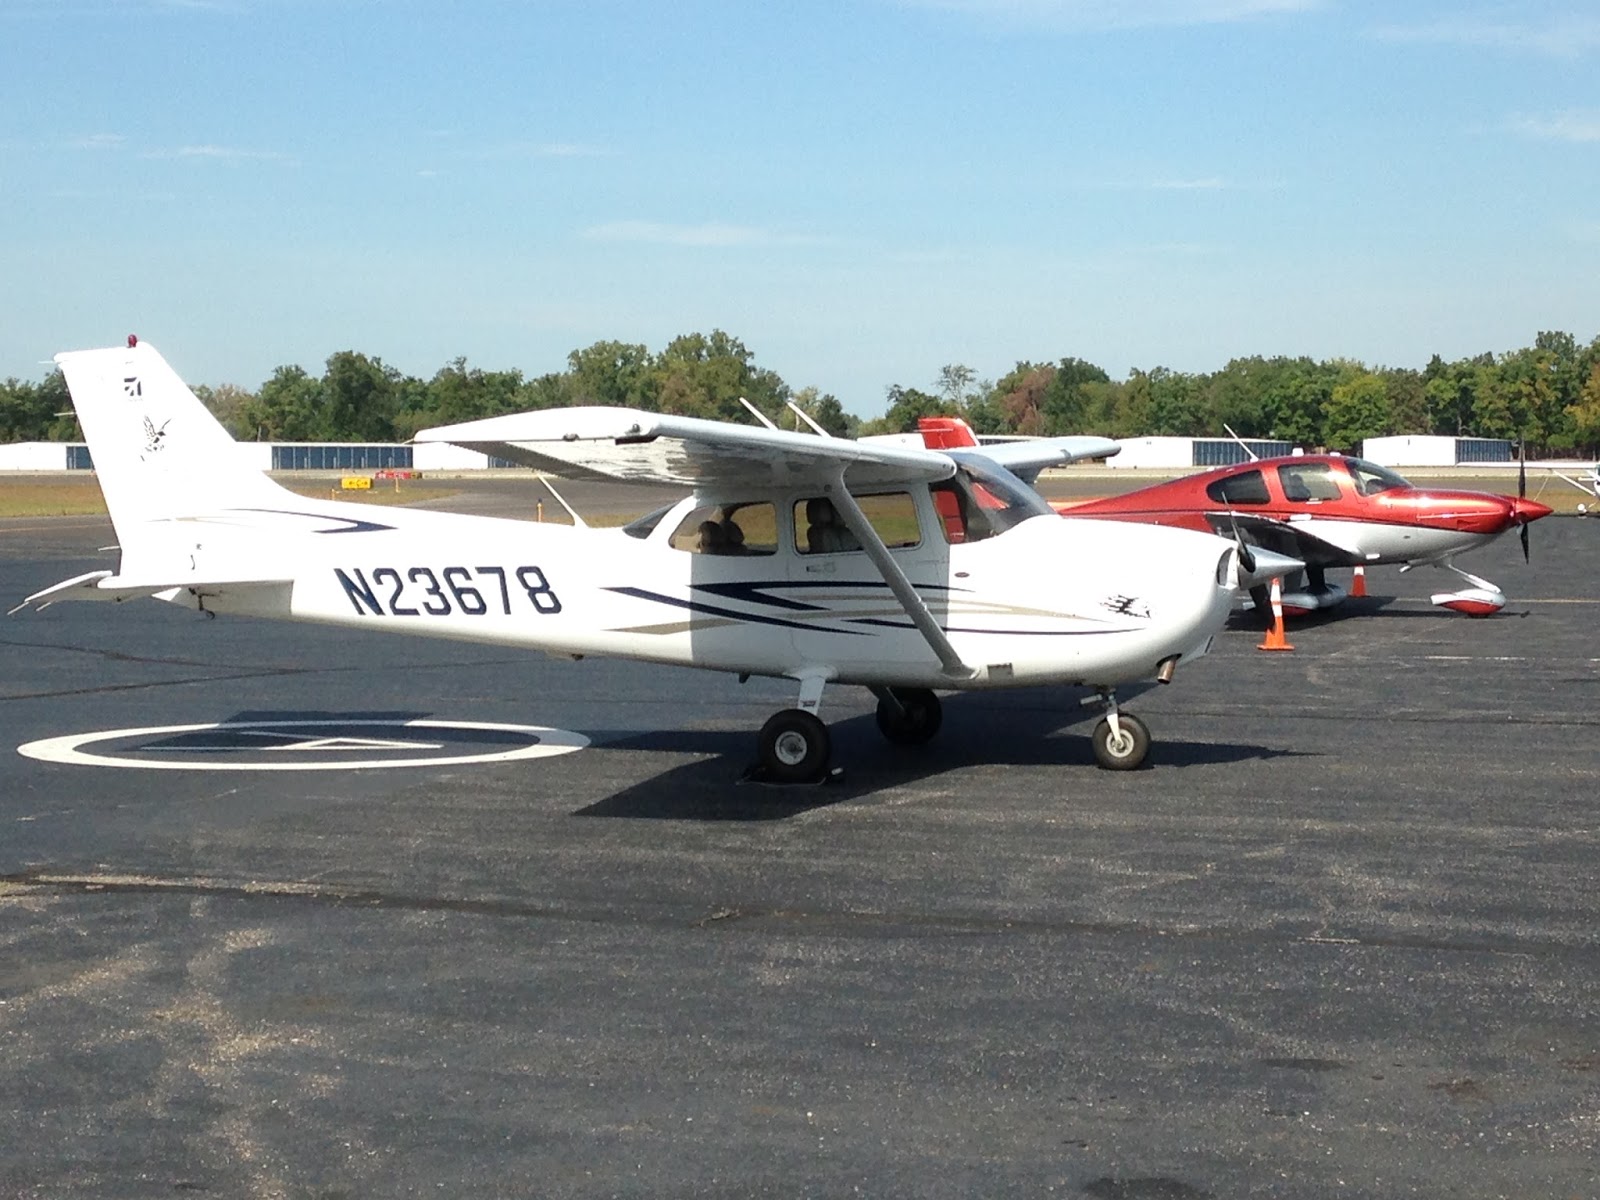
I hadn't flown much in the past year because of the focus on building and concern about financing. When that concern was removed, I thought it might be a good idea to get back into the air to hopefully start thinking and feeling like a pilot again. I had my 3rd Class Medical renewed in October and sought out some more flight instruction. DCT had been helpful in the past, but now I wanted to get some glass cockpit time and find a good stick and rudder instructor with a lot of experience. I connected with Crosswinds Aviation and met Henry Smith (a Gold Seal CFI with a long list of credentials), and I quickly learned that we had some interesting commonalities. We are both drummers who had lived in California and learned to fly in and around the San Francisco Bay Area, and we quickly became friends. Henry is the kind of instructor that I've always needed, and the kind I should have had from the start. It became apparent rather quickly how rusty I am and how many bad habits I needed to change. It really feels like I'm starting over with no experience, and that can be discouraging at times. But I know how much I need it; how important it is to go through this to become the pilot I wish to be. I am now training in a Cessna 172 with a Garmin G-1000 glass cockpit as well as a Redbird flight simulator with a glass cockpit. When it comes to stick and rudder feel, I'm surprised at how different the Cessna is from my experience in Piper aircraft... and how different they both are from the aircraft I'm building. The analogy that comes to mind is that Cessnas and Pipers are all very competent aircraft, but to me they feel like aerial trucks... and I'm building a sports car. But I'm working hard at rebuilding my shaky foundation as a pilot, and I'm off to yet another good start.

I've also worked on my shop environment a bit. I improved the woodshop paint booth by installing a door that I modified with a built-in fan. My experiments with tenting the open end of the woodshop booth indicated that enclosing the space would do a lot to reduce the fumes in the adjacent garage area and make it possible to use the booth for spray gun painting. After installing the door, I painted some parts with the gun and, although there was improvement, I still had some fumes in the garage. This will turn out to be a balancing act between the flow of incoming and outgoing air, the filtration/restriction and the amount of paint being sprayed. It may take a bit more experience to find the balance, but it will be found. By the way, the second photo below was an early one; I have since routed the power cord to the right, up and around the doorway so that I don't have to unplug the fan to open the door.


Between and around these activities as well as the usual fall chores, actual work on the airplane seemed to occur in short segments. I had received some rudder pedal extensions from M L SkunkWorks and prepped them for installation. The pedals and extensions were then painted and assembled.

A few days later, a large cardboard crate arrived from Aerotronics. I wondered if I should just leave it closed until I needed to install the components, but Jason Smith said I should definitely open it right away and do an inventory. I left the panel and components wrapped, but everything was there. Well, almost everything... more on that later.


The autumn weather in Michigan this year was exceptional, so I thought it might be a good idea to take advantage of it and get the fuselage interior painted. I rolled the fuselage outside, turned it around, put it back into the shop tail-first and reconstructed the paint booth around it. I used different visqueen this time; a larger roll of thinner material. The size was much better for me, but the thin material was almost like gossamer, so I was less impressed with the performance of this booth than the previous one. But it was adequate, and I did manage to get the interior of the fuselage painted. It wasn't a perfect paint job; it was never meant to be. But I did end up spraying the entire canoe instead of just the forward parts to make the interior appear somewhat more consistent, and the parts that will be exposed got a good coat. Masking was a pain, of course. I wanted the firewall and canopy rail surfaces to remain unpainted, and the white powdercoated landing gear bolt weldments and seatback roll bar were also masked. I also masked the exterior of the fuselage, which was more difficult than expected using the thin visqueen; I should have used butcher paper. But, as always, the job was eventually done.


Now that the interior was painted, I could disassemble the paint booth and begin to install some parts in the fuselage and leave them in place... or at least, that was the intent. Using the improved woodshop booth, I painted all the aircraft control pushrods that were bare aluminum, leaving them with a primer topcoat. Then it was time to install the mounting plates for the Garmin pitch servo. I anticipated some difficulty with riveting those in place, but it went smoothly. I drilled the hole in the bellcrank arm and also match-drilled some bolt holes in the baggage rib angle that probably should have been done before I painted, so they got a bit of touch-up. Fabricating the pitch servo pushrod and installing the servo and pushrod was fun. I torqued and marked the bolts, hoping that I would be able to leave them in place as a finished installation. That remains to be seen, as they will be an obstacle for the person that will be bucking the rivets. But the assembly is much easier when the fuselage is still an open canoe. This is one of many catch-22 situations that all builders have to face; we'll see how it works out. I reinstalled the elevator pushrods, control column and sticks and replaced the rudder cables, securing the guide tubes in the tail and mid-fuselage. The rudder pedals were installed temporarily; I knew I had some bench work to perform on them before they would stay in place for good.


The next thing in the assembly sequence was the fuel system, but I needed to order some tools first. I did some research, reading the instructions and learning a lot about the process online, and bought a good flaring tool, some quality tube benders and cutters and crowfoot wrenches for fittings. I wanted good tools for a job that had to be done right. While waiting for the tools to arrive, I installed the tail spring. Once properly equipped, I got some practice fabricating with the tools and learning the tips, tricks and traps. I called Van's Builder Support to double check some techniques and learned the right way to seal and torque the threaded fittings. I started by putting the fittings on the fuel valve and began working on the 1/4" vent lines. The tricky part here was that the vent lines had to be installed inside the gear towers, leading from the bulkhead fittings in the fuselage and going up high inside the towers to run them well above the highest part of the tanks before going back down and protruding through the floor and bottom skin by the landing gear boxes. Fortunately, as hidden lines they didn't have to look perfect. They just had to be fabricated properly and routed correctly with no damage or built-in stress. The fuel pump and filter did not come with the QB kit and had to be ordered. While they were enroute I fabricated and painted the brackets for the pump and filter and riveted them to the floor.


Time to shift gears in assembly sequence. I had reattached the empennage and control surfaces and decided to work on attaching the stick grip to the pilot's stick. When I unwrapped the Tosten grip and looked at it, I realized I had a couple problems. First, there was no way to mount it to the stick as it was; something was missing. Some research revealed that it should have been shipped to Aerotronics with a bushing designed for a Van's RV-8 stick. A call to Tosten got one sent to me in a couple days. The second problem was that the grip was pre-wired with a connector on the end, but the pins would need to be removed from their plastic housing before I could route the wires through the stick. That would require some pin removal tools I didn't have. I found them online, but I really wanted to get that job done that day, so I went searching for the tools at various auto parts stores and came up empty. I ended up getting the pins removed at a car stereo store for free (thank you RSKT in Pontiac). With the bushing in hand and the wires free to fit into the stick, I had to determine what length to cut the stick to allow the grip to pass under the instrument panel and the gear tower brace. More research and another call to Van's, and I was able to figure a way to make the determination, cut the tube and fit the bushing and stick. I needed to drill two holes in the stick; one for an anchor bolt for the grip and bushing and another for the wires to exit near the base. I also had to shop for grommets that would hold and cushion the wires in the exit hole. With the grip, bushing and wiring in place, the pins were reinstalled in the connector. With the stick finished, I couldn't resist installing the front floors, front seat and cushions and sat in the fuselage again with the proper grip and rudder pedals in place, wiggling the controls. That was fun. The back stick would only require a passive grip, but it needed to be cut to length to clear the front seatback. A run to my local bicycle got me the grip I needed (with one to spare, since they're only sold in pairs) and now both sticks are complete.


The firewall-forward kit arrived and was inventoried. There were a couple small parts missing, mainly from the baffle sub-kit, and one incorrect baffle was included. As usual, Van's was quick to send out the missing parts and told me not to bother sending the wrong baffle back.


In the meantime, I worked on dialing in the rudder pedals. I needed to increase the pedal swing to get full rudder travel without excessive tension on the opposite cable which tended to torque and stress the entire assembly. The brake master cylinders needed more pivoting clearance on the cylinder arm tabs to allow more pedal travel. A lot of grinding, filing, fitting and testing eventually got the results I sought. I only hope that the material removed wouldn't weaken the arms significantly. I seriously considered having the cylinder arm mount tube modified with heftier tabs for the master cylinder, but for now I'll trust Van's design. With the travel sorted, it was time to refine the rudder pedals themselves. Lots of little modifications were required to get a proper fit of all the bolts, nuts, washers and cotter pins. Tubes needed filing to the proper length, two bolts needed their threads cut a little longer and some castle nut slots needed a little bit of rounding. Eventually the parts were ready to be lubricated and assembled with cotter pins in place, and I'm hoping to keep them assembled. Another test-fit in the fuselage revealed another issue: the ground-adjustable rudder setup combined with the deletion of the rear pedal option left the cables sitting low enough to contact the aft reinforcement ribs on the landing gear weldments, right at the point where the aft and forward cables bolt together. It was evident that in a worst-case scenario could allow the bolt heads or nuts to snag on the reinforcement ribs, effectively jamming the rudder in full right or left deflection. Even though I could reach down and pull it free, this still had potential to be a very bad thing. I did some research on the VAF site and learned that the rear pedal kit came with idler arms that attached to the the cables where they join, holding them above the weldments. Van's Builder Support supplied drawings with a parts list, and I was able to order the parts I needed without having to buy the entire sub-kit. I requested that the parts be packed with the finish kit to save an extra shipment.


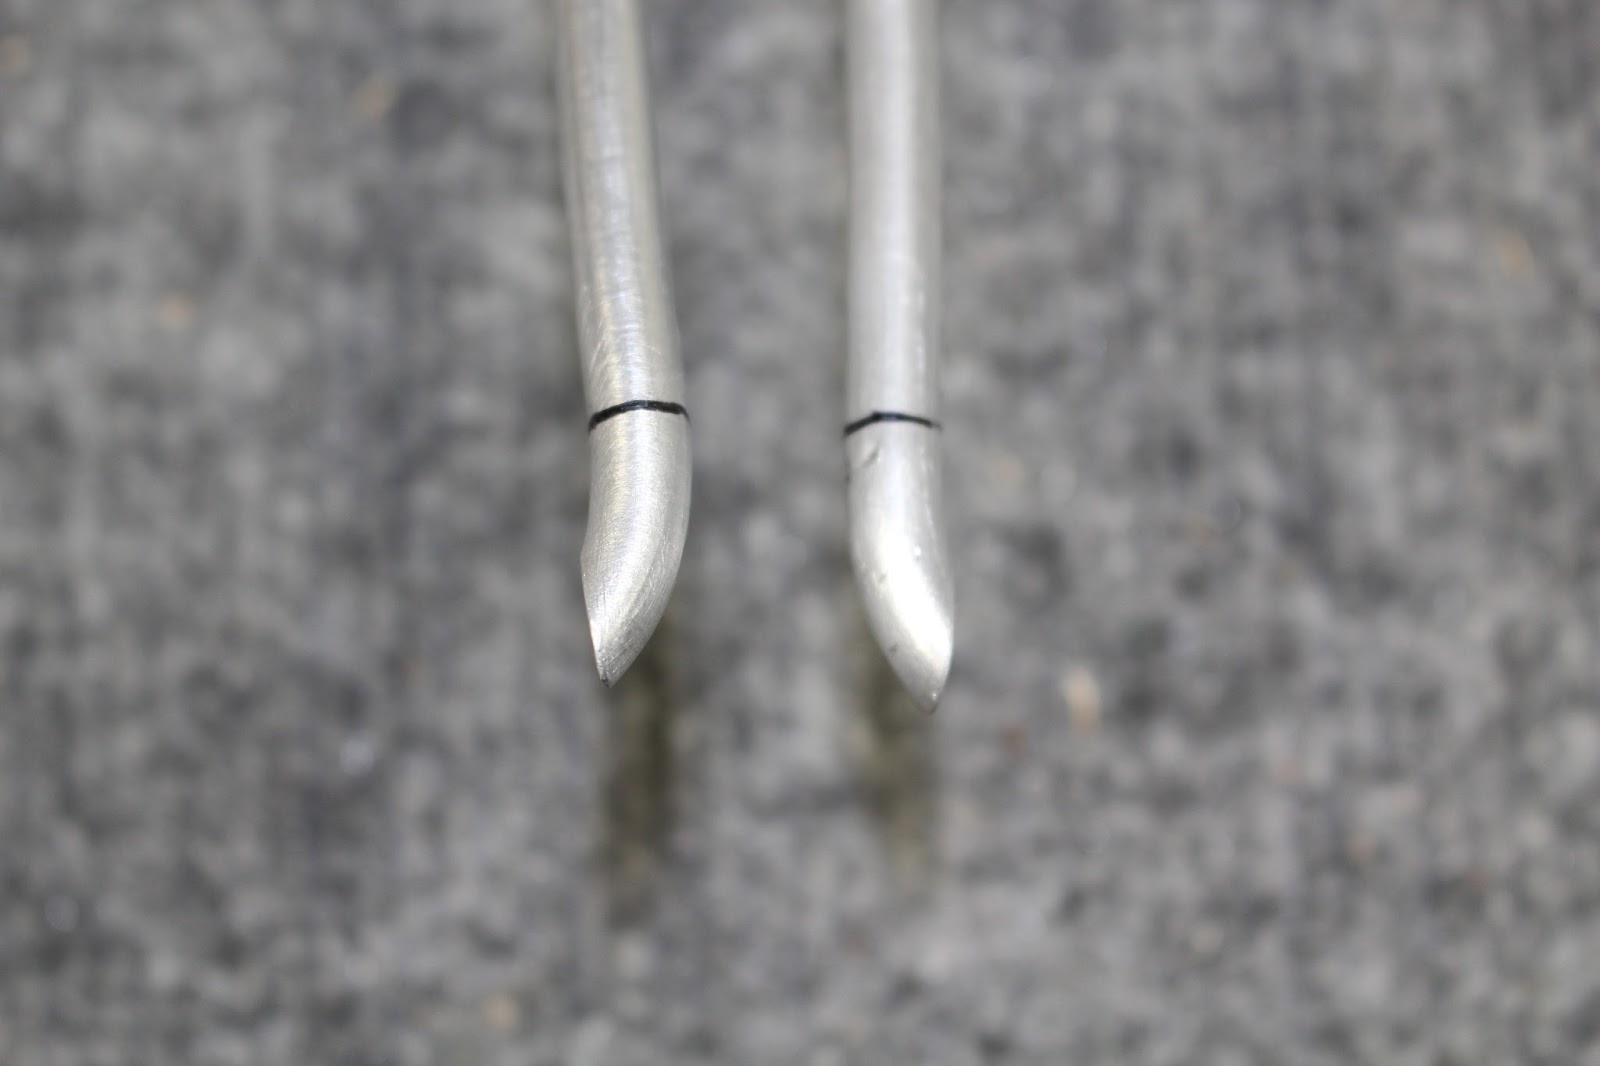
Back to the fuel line fabrication. I removed the seat panel, did a few more test bends working with the larger 3/8" tubing, then after some measuring and some experimental coat hangar layouts, I started with the right fuel line. Not super easy, but not as hard as it could have been. Actually, the hardest part was trying to get the screws that hold the adel clamps tightened into the nut plates inside the spar box. Nut plates can be a bear in the best circumstances, but try reaching down into a fuselage with your arms fully extended, and push the screwdriver sideways with both hands with enough force to get that screw to cut its way into the tight nut plate threads without ruining the Phillips head on the screw. Makes my arms hurt again just thinking about it. The left fuel line was the easiest; it just curves around from the valve nipple and goes through the grommet in the fuselage. The next step was the line that goes from the bottom of the valve to the fuel filter. Reading ahead in the directions and examining the routing of the fuel lines led to a surprise. There were two fuel lines that needed to pass through the right gear tower; there were supposed to be two pre-drilled 5/8" holes in each side of the tower, for a total of four holes that received snap bushings to protect the lines. Only three of the four holes were the correct size; one of the aft side holes had never been final-drilled. I had no 5/8" drill bit on hand, and I also had no idea how I was going to be able to drill that hole in that constricted space with a regular drill. A typical 5/8" bit would only fit in my big drill, which would never fit. My other drills and the right-angle extension would require a bit with a reduced 1/4" shank; a rare bit indeed. I finally decided to use the step-drill bit in my smaller electric drill. Access was tight and angled a bit... but it was good enough to get the bit started and I was able to finish the hole with the drill straight. Phew.


Examining my fuel pump revealed another surprise. Fuel-injected engines required a specific type of pump, which I had ordered and received... but the pump had been redesigned after the plans were drawn. The plans called for a tee fitting in the bottom of the valve for a feed line and return line, but the new pumps don't require a return line. That meant swapping out the tee fitting with a straight nipple in the bottom of the valve, which was already mounted and partially plumbed. Grr... oh well. Got it done; now back to that feed line from the valve to the filter. It looked easy; it wasn't. A short length with several curves in several directions to join two nipples on different axes and angles. This took some more fabrication practice with the filter in place and removed at various stages, and four tries later, I had a decent line with the right curves and no kinks or gouges that would fit without stress. Builder's note: the photos make it look like the two right tank line and the feed line are touching but actually they're not; there is a safe gap between the two.


It was nice to know that now I only had one fuel line to route through the gear tower. I'd have two spare holes now, but they could be used for cables or wiring now, and as it turned out the undersize hole needed to be drilled out anyway because of the alignment between the filter and the pump. It was a mostly straight run, but the routing through the tower created other issues. Even without the snap bushings in place, the holes were too small for a fitting nut to pass through. That meant that the line had to be bent to fit, the filter end had to be flared, the line had to be fed through the gear tower with the fittings in place and attached to the filter, then the pump end had to be flared in place with the fittings on the line before attaching the line to the pump and securing the pump to its bracket.


The last line and fitting threw me one last curve - literally. The plans call for the last line to run between the pump and a bulkhead fitting. Since it's not a straight line between the two, the plans show the fuel line with two 90 degree bends... but it was pretty obvious that wouldn't be feasible given the short space between the fittings. After some thought, it occurred to me that a loop would solve this problem nicely. It took some more homework and practice to try and figure out how to fabricate the loop. The result isn't pretty, but it's functional and fits well with no stress. That's the most important part. Another builder's note: the wires from the pump are not connected or permanently routed. I just stuck them through the available hole in the gear tower to make the photo less cluttered.


The next stage in the build was supposed to be fabricating the brake lines, but when I got started down that road I came to another roadblock: I didn't seem to have all the necessary parts. I must have pored over that packing list for over an hour, but there was no mistake: I was definitely missing brake lines and fittings that were in the plans and instructions, but not in the quickbuild kit inventory. A call to Van's revealed that they were supplied with the finish kit. I've seen this in other parts of the build, but it was always clarified either on the plans or in the instructions. This time, not a hint. It's a good thing I ordered the finish kit already. Since it was being crated at the time and I wasn't sure exactly when it would arrive, I skipped ahead in the manual and began work on the aft fuselage. I got the static ports drilled and installed in either side of the fuselage. Then it was time to start work on the aft bulkheads and aft top skin. I deburred the edges of the bulkheads, gussets, canopy rail receptacle, harness fairleads, harness anchors and aft top skin. I clecoed everything together and started match drilling some of the rivet holes. The harness anchors required some filing on the top back ends to allow them to nest in with the bulkhead flanges. I got them nicely filed and smoothed... and then realized I had filed the bottom sides instead of the top sides. Grrr. Disgusted, I hung them on my wall of shame, and I'll be ordering replacements today. I distracted myself by doing the layout on particle board for cutting backboards placed in the fuselage to help support the assistant bucking the rivets when the aft top skin is riveted. I won't need them for awhile, and I couldn't cut them at the time because it was raining and I do all my wood sawing outside whenever possible. But the layout is done for two out of the three I'll need.


That brings us up to the present. The Vetterman exhaust is due today and I'm hoping to get some word on when the finish kit will arrive. I've got the bill of lading, so I know it's in the shipper's possession, but no ETA yet. I hope I get it soon because it's a big heavy crate, and I'll need to assemble a team to offload it into the shop. I also need to find out if those extra parts for the rudder cable run were shipped with the finish kit, and I need to order those harness anchors I butchered. I'm making travel plans to Ohio and Oklahoma for the prop and engine. And I have to stop typing this so I can get some sleep before flight instruction later today. More later... bye.